Introduction
This document will provide the steps to setup your Plum Clock
Steps:
Step 1: Unbox the Plum Clock Terminal
Step 2: Unbox the wall mount if installing it on a wall.
- If using the wall mount, you will need to unscrew the stand from the rear of the terminal to access the mounting holes
Step 3: Mount unit to wall as determined by the location details.
Step 4: Finish terminal connections
- All connection points for the Plum Clock are located under the terminal at the bottom of the screen
- All cables to the terminal can be run up through the terminal base or secured to the mount for added security and protection as well as a clean look
- Attach ethernet cable connected to the local network into the ethernet port
- Connect the power cord to the terminal in the power port.
- Connect the power cable to a power source. NOTE It is strongly recommended to use a surge protector to plug the time clock into.
- If the terminal does not come on right away, the power button is located at the bottom right corner of the terminal just under the screen. Press the button to turn the terminal on. (Small silver button.)
Step 5: The Zip MDM software should run automatically after about 45-60 seconds. If it does skip to step 5.c.
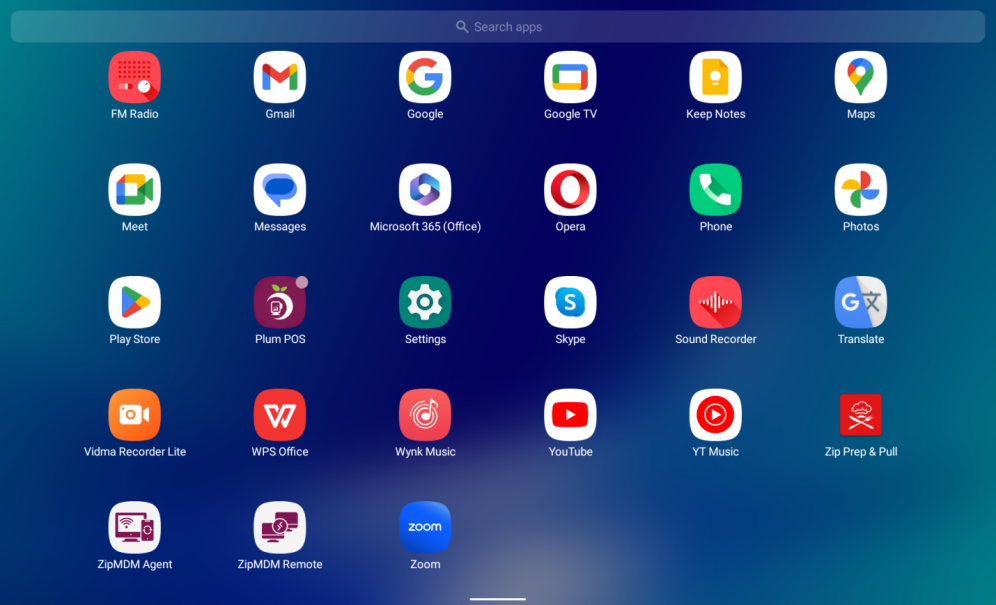
- If it does not, swipe up from the bottom of the screen to access all apps loaded on the terminal.
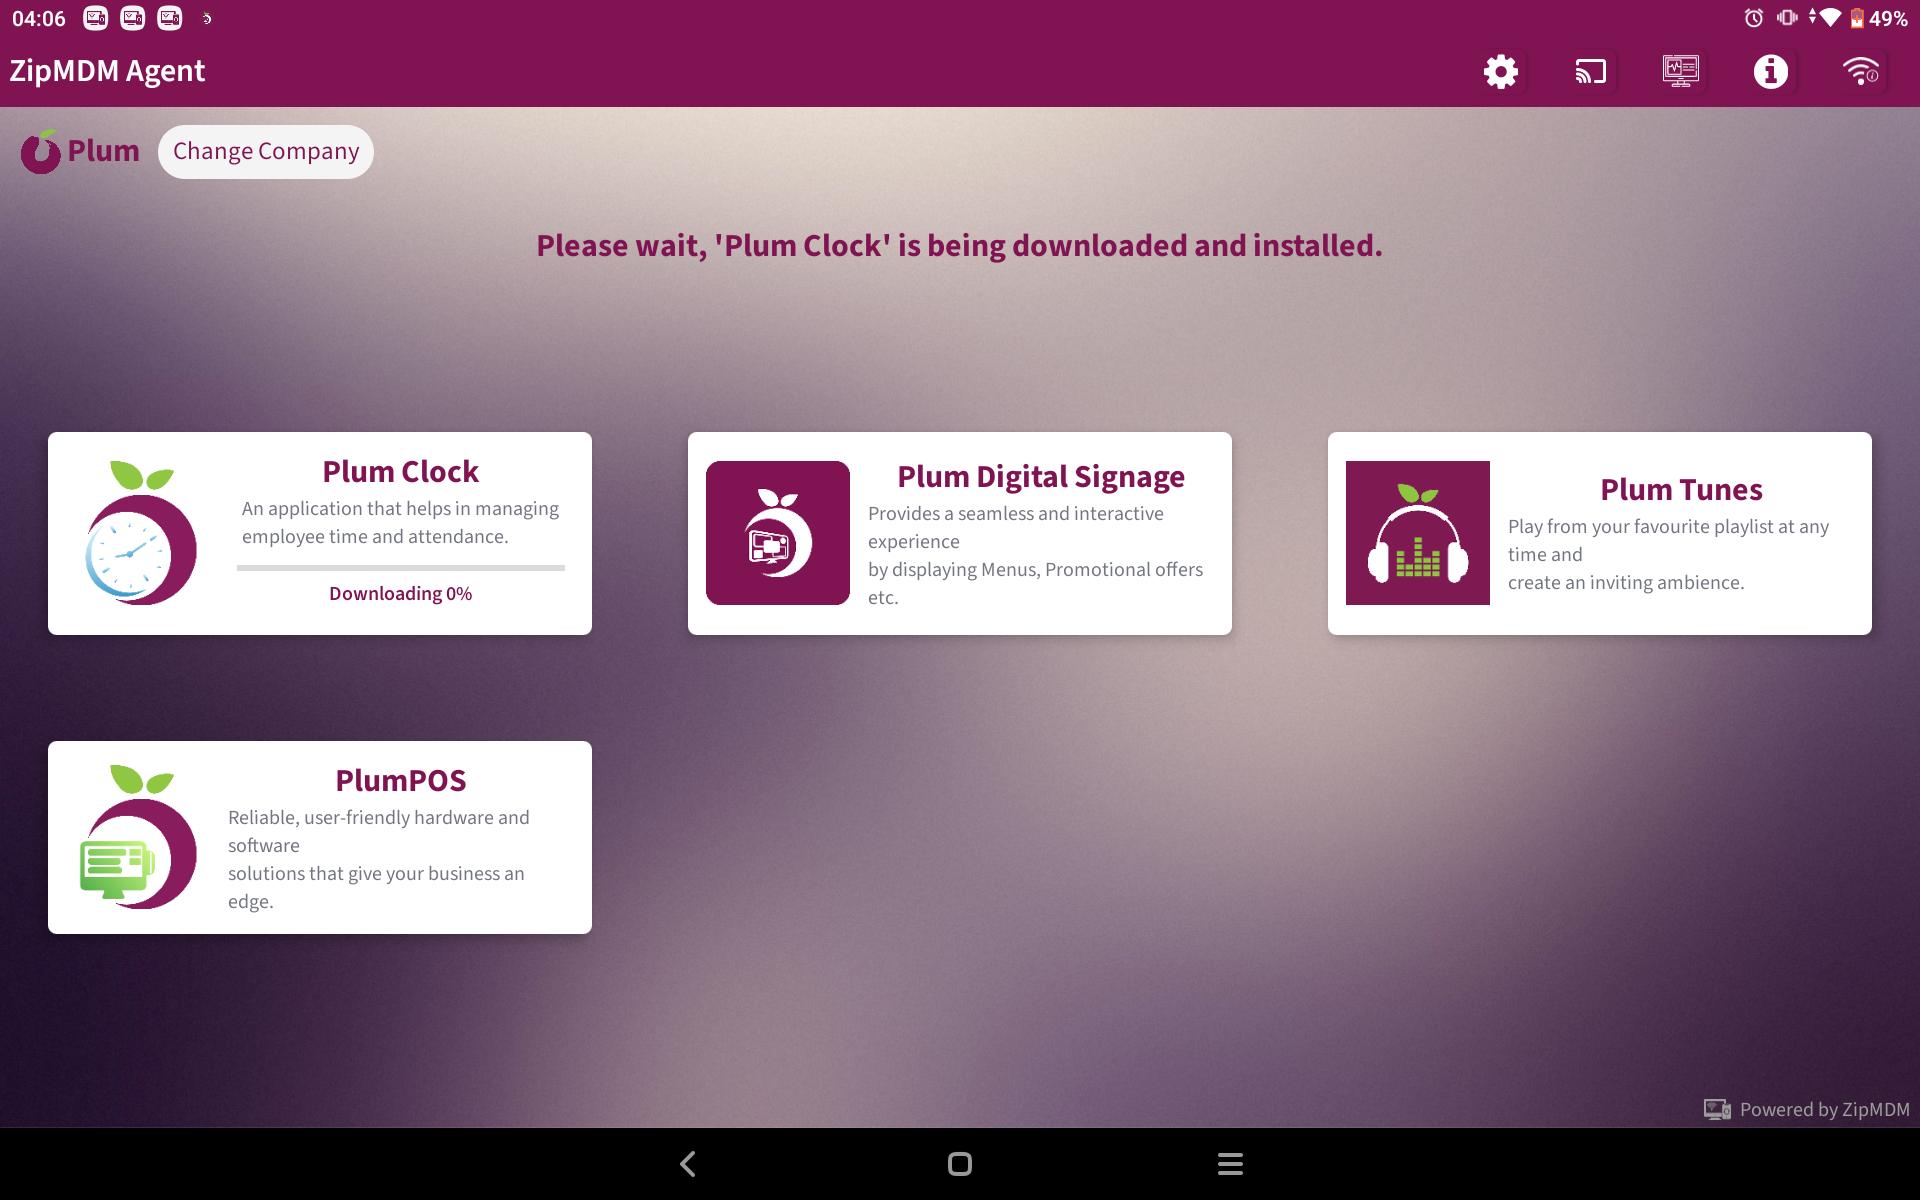
- Click on ZipMDM Agent
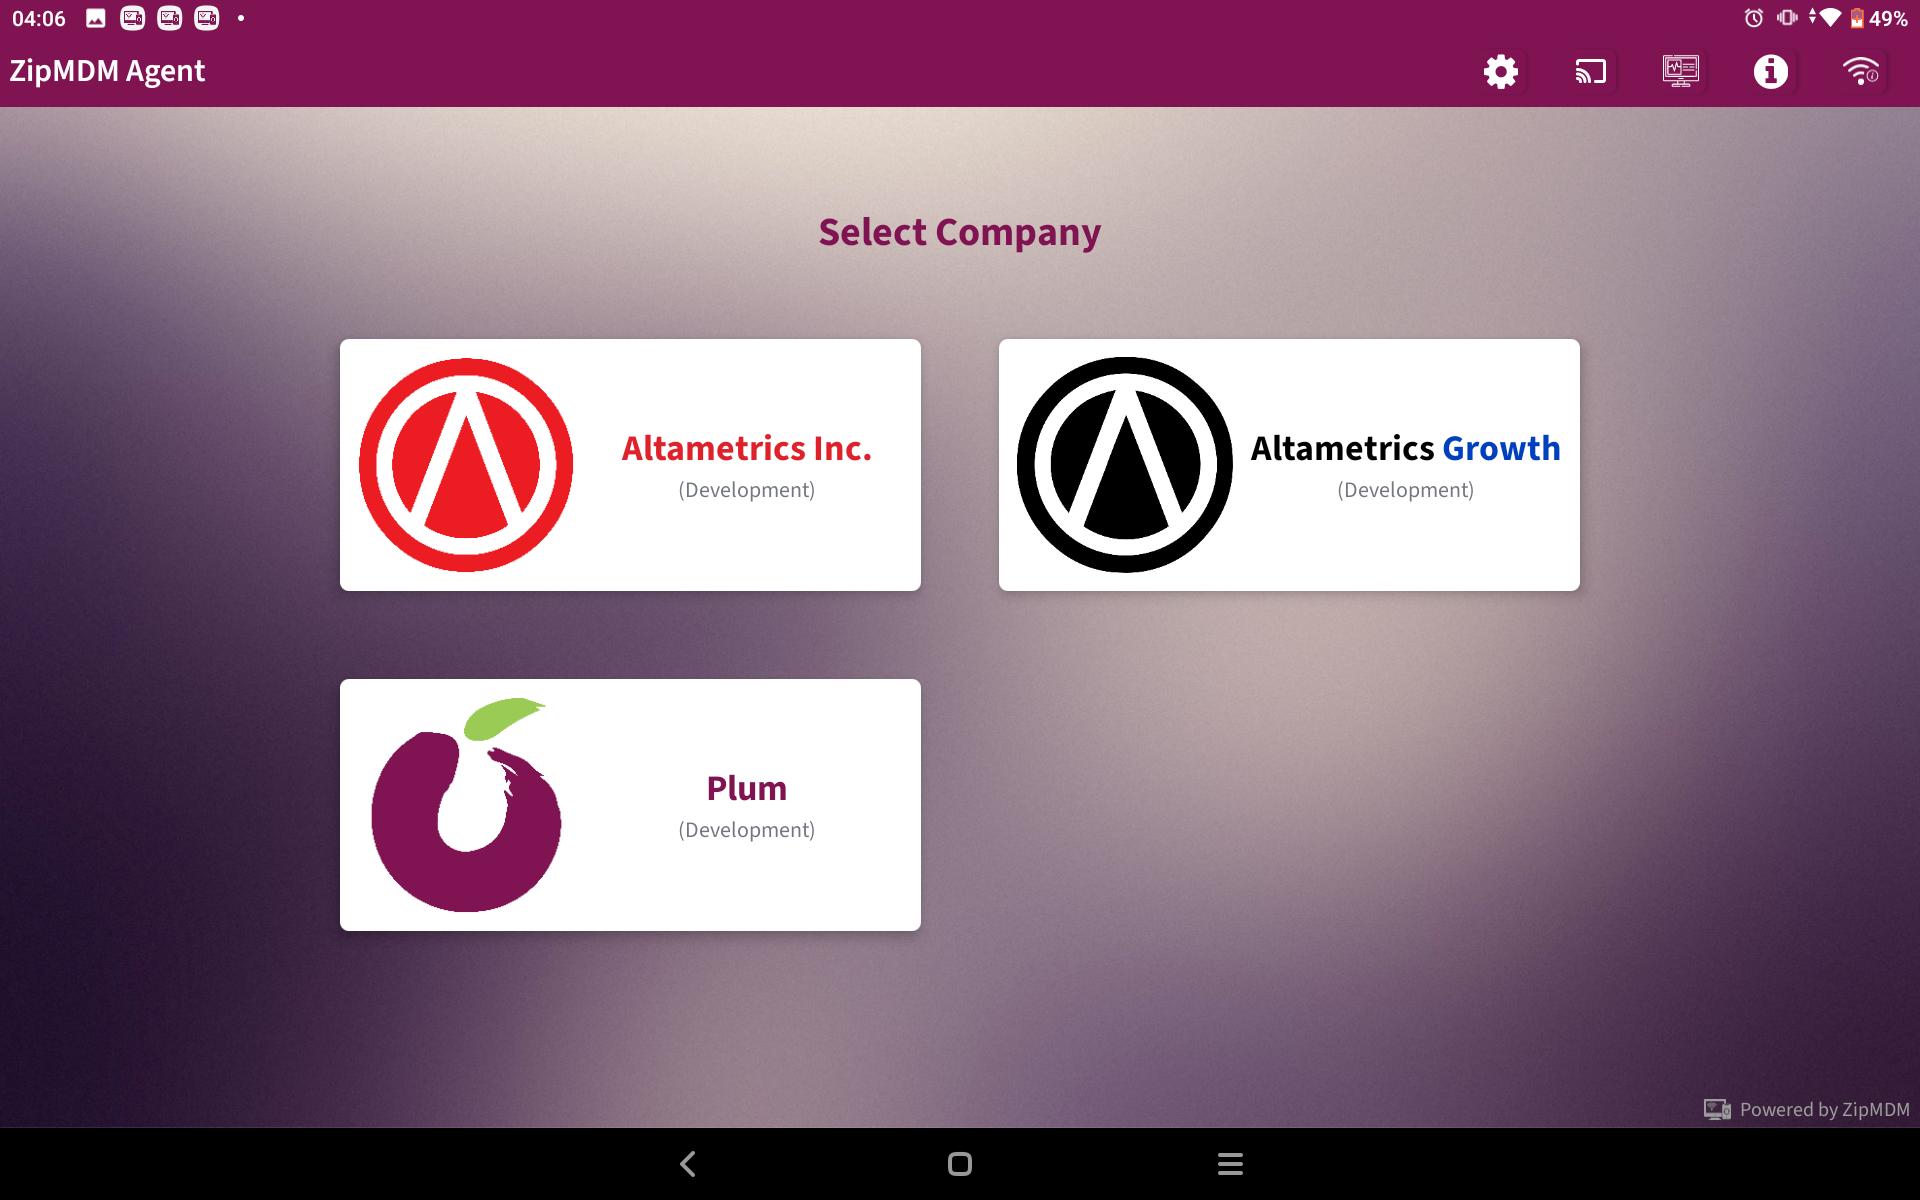
- The next screen will ask you which company Altametrics or Plum. Select Plum and, proceed.
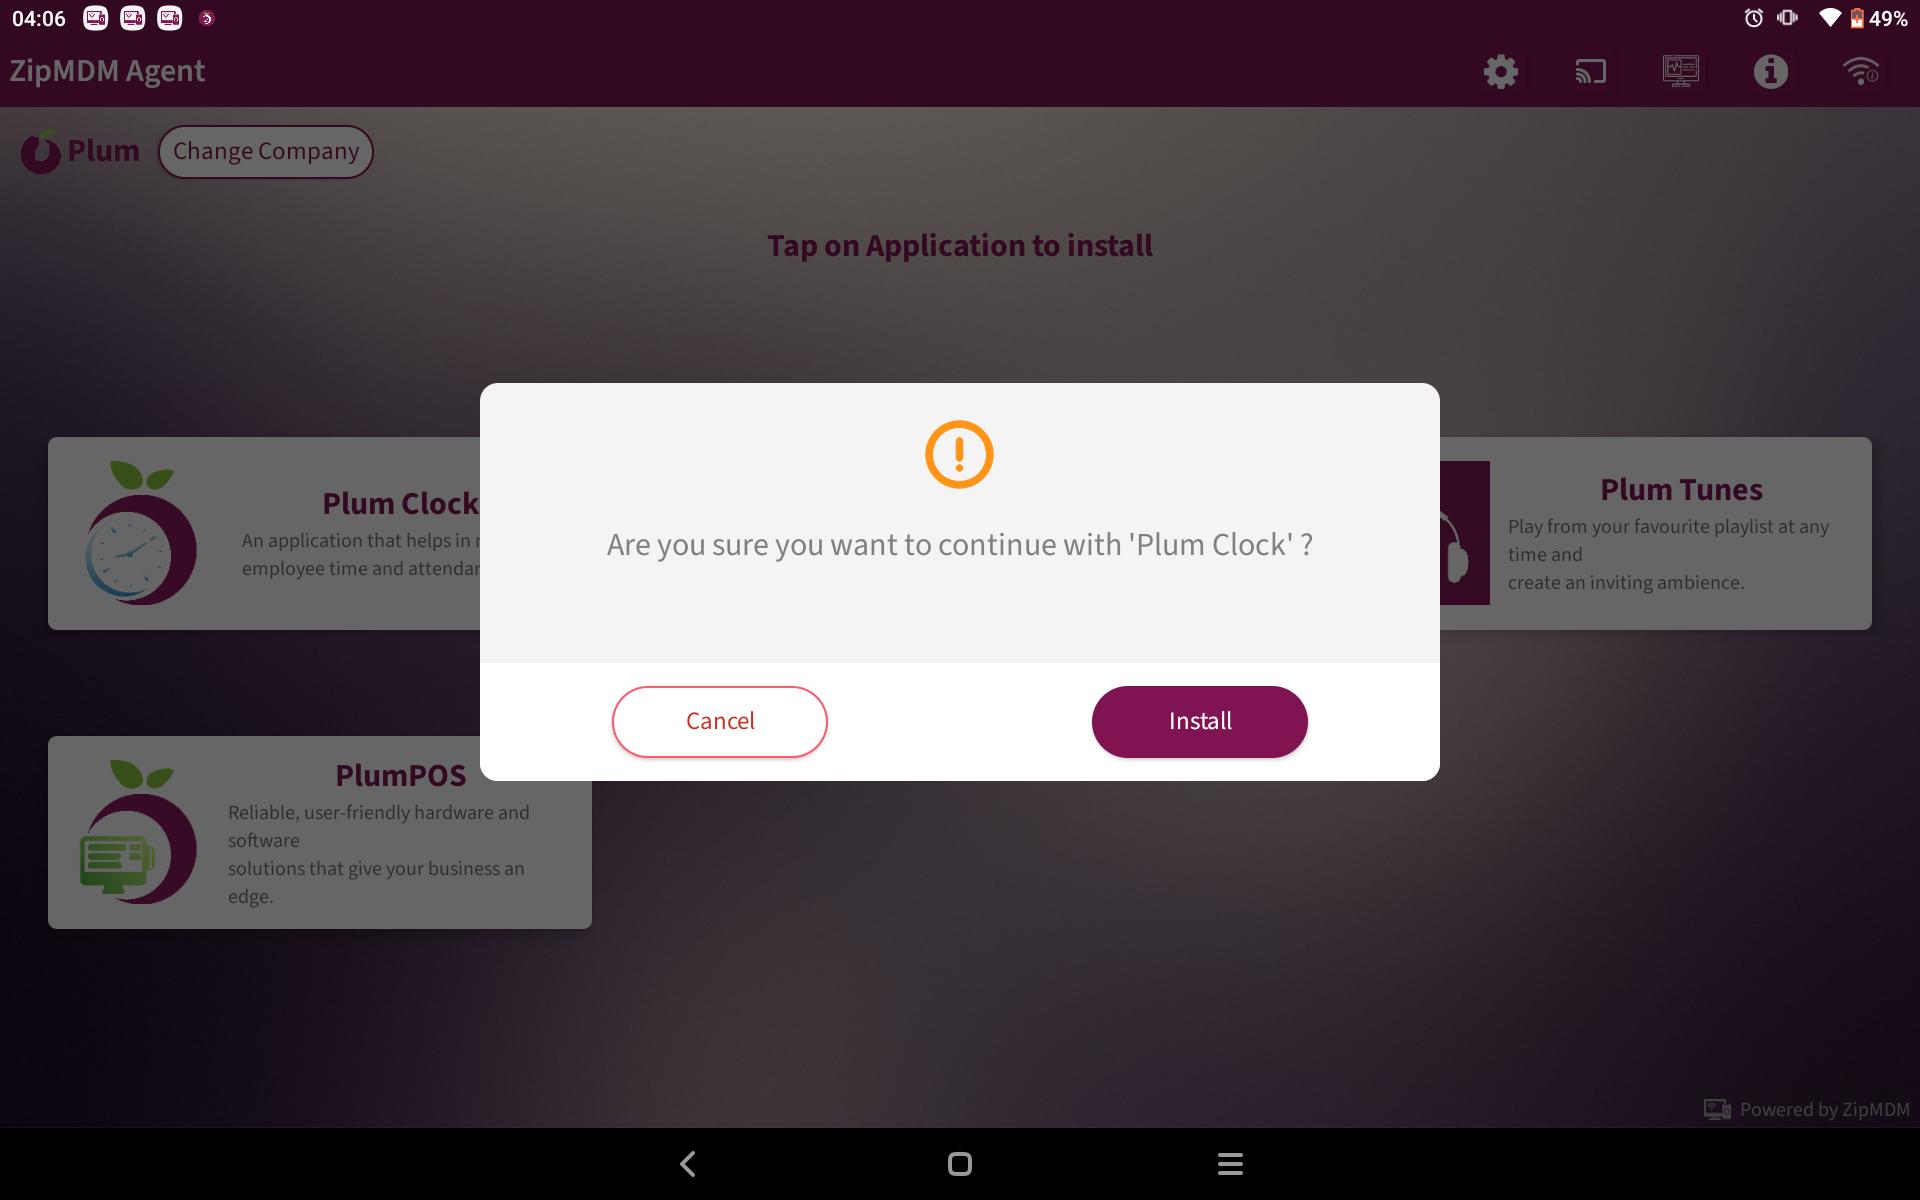
- Click Plum Clock

5. Once Highlighted, Click Install– this will start the download of the latest version of Plum Clock.
Step 6: You will need access to the Hubworks account on a computer (desktop or laptop) to proceed or contact a Plum POS / Plum Clock support representative to continue.
-
- The local store General Manager should have access to the Hubworks back-office systems and applications.
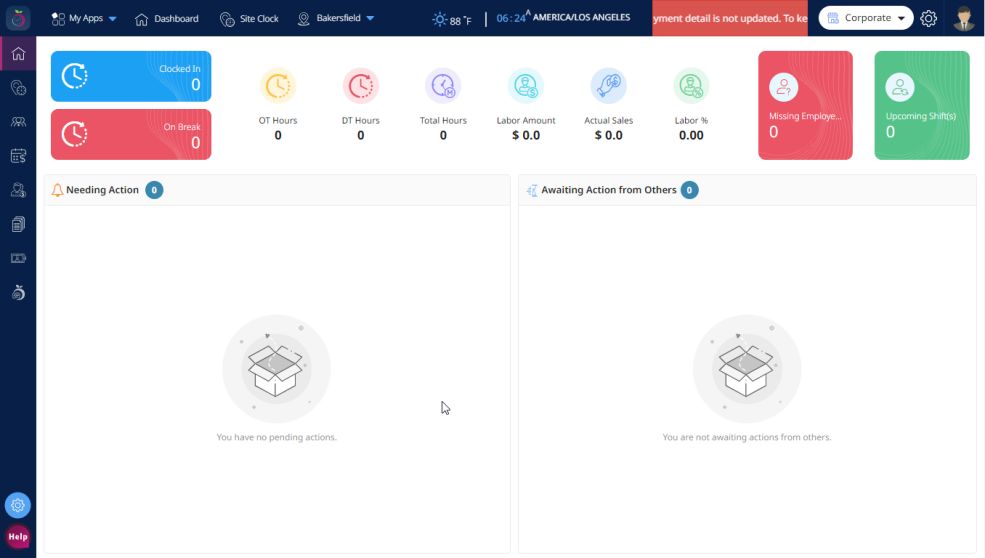
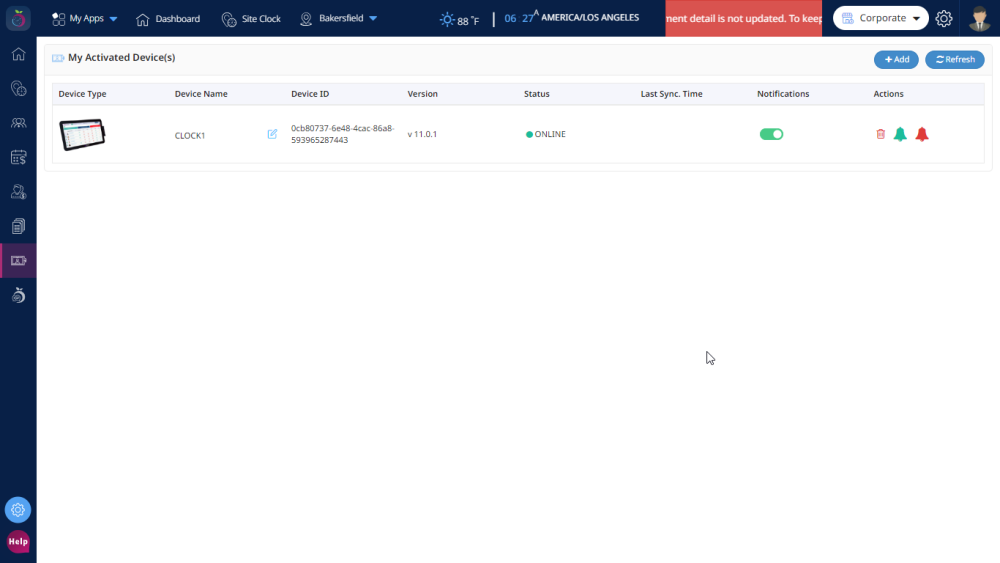
Step 7: Once in the Hubworks applications on the computer, click on Plum Clock
-
- The first screen should appear on the Dashboard page.
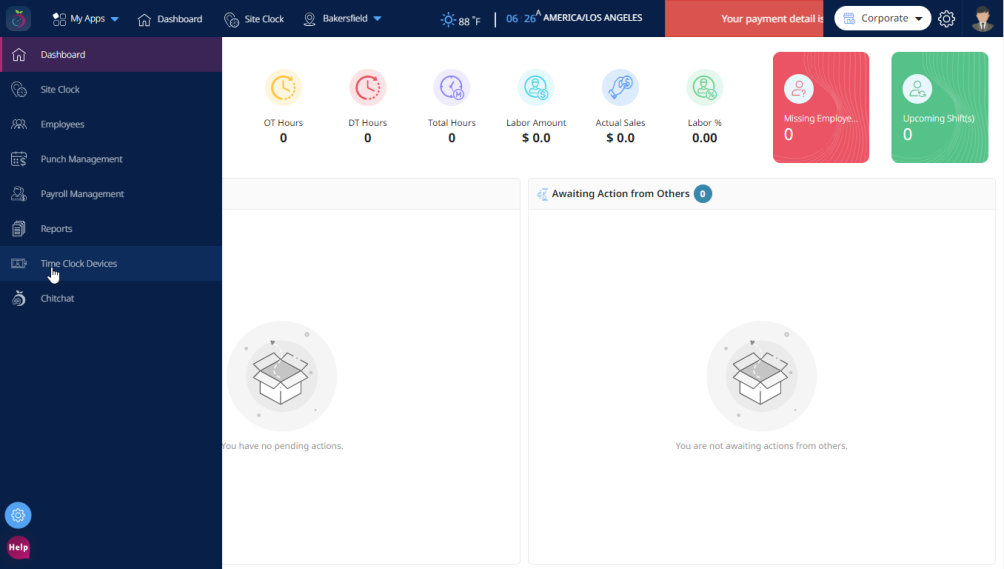
- Using the left navigation bar, click on Time Clock Devices
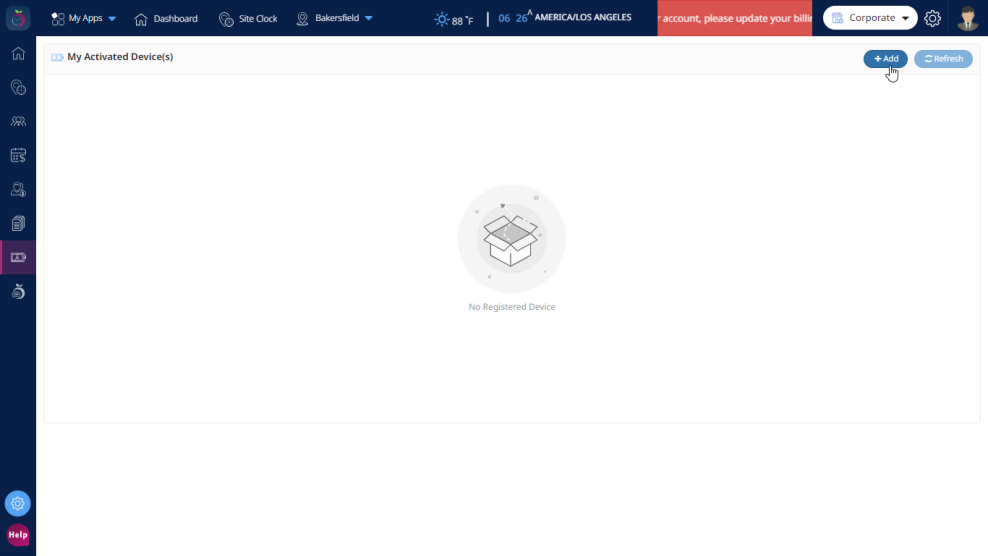
- On the Devices page, click the +Add button in the upper right-hand corner
- You will see this popup
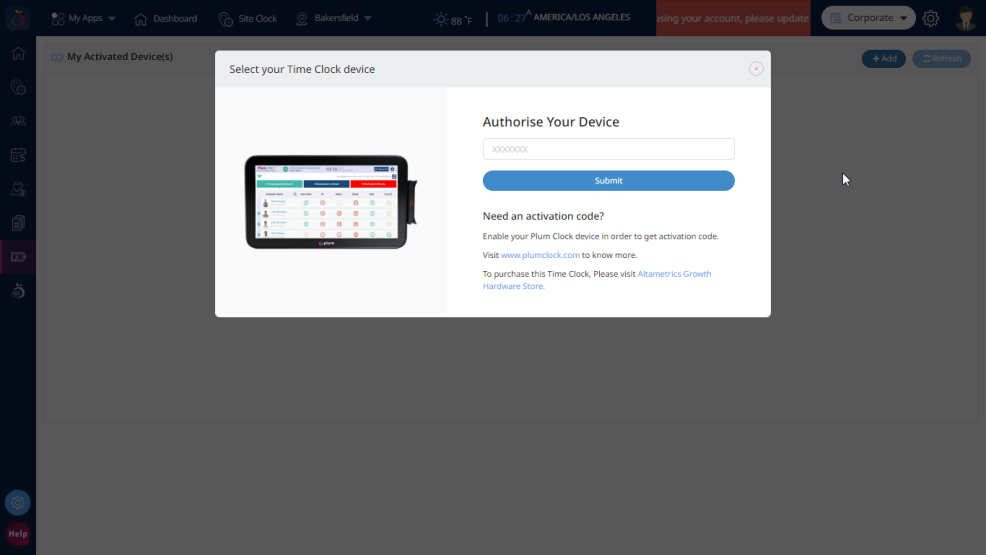
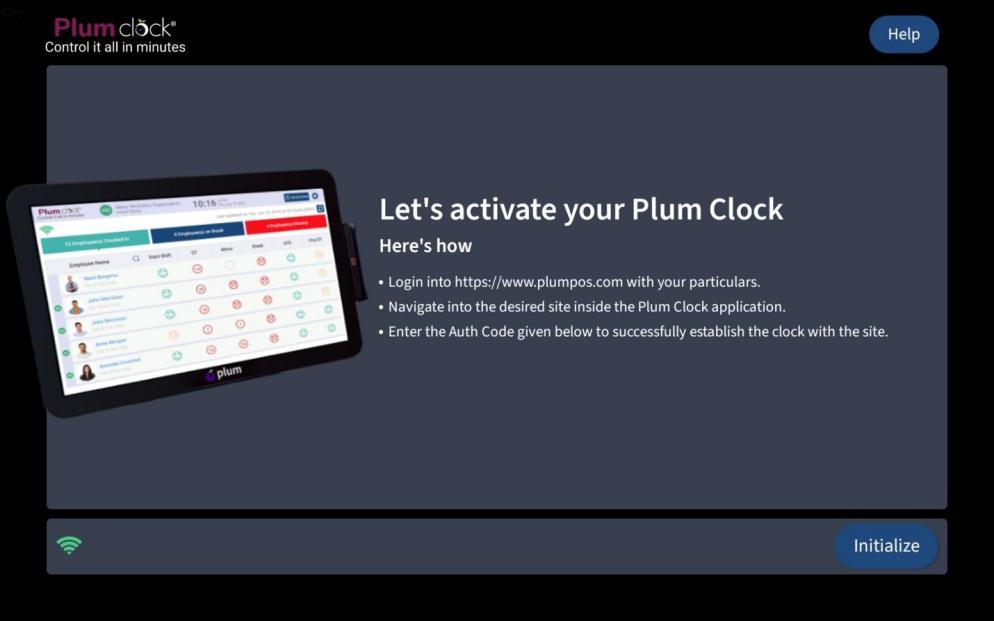
- On the time clock screen, press Initialize Device in the lower right corner
-
-
- At the lower middle of the Plum Clock screen, a 5-digit code will appear in a white oval
-
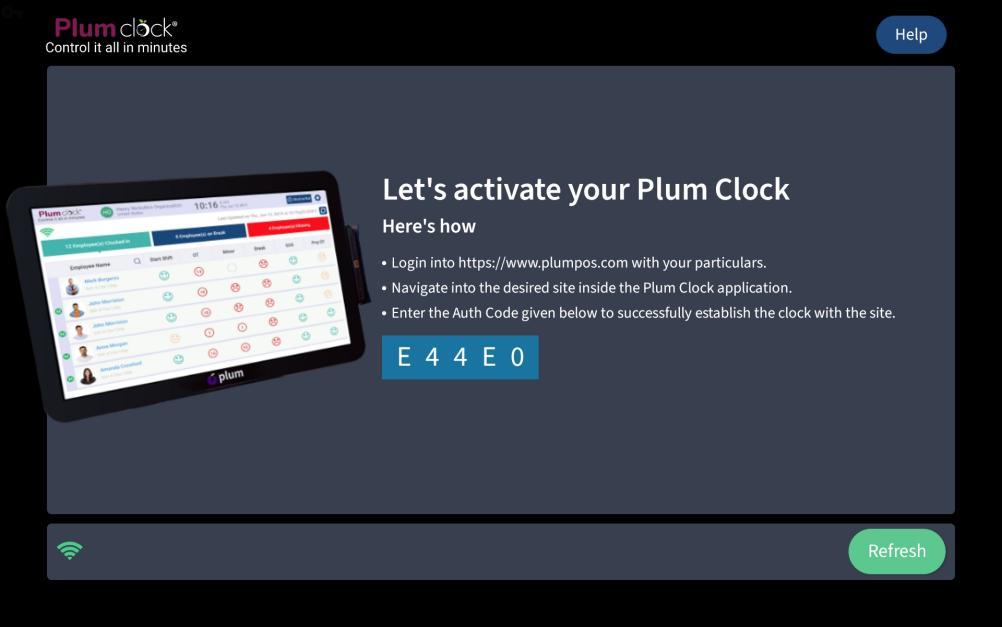
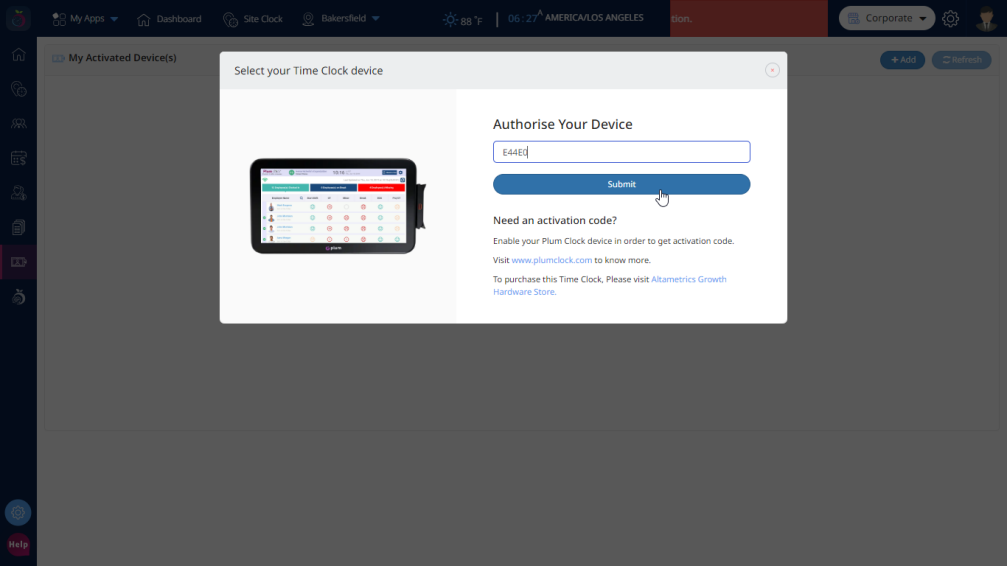
- Enter the 5-digit code into the Authorize Your Device box on the computer. It is case sensitive
-
- After entering the code, hit Submit
-
- This should automatically start the Plum Clock application and pair it to the store
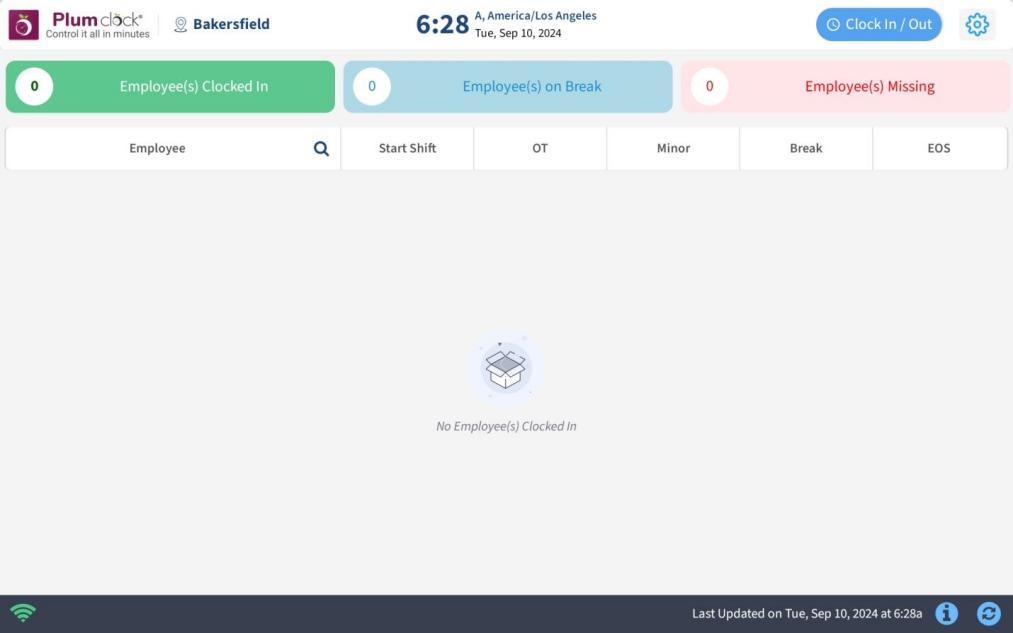
Step 8: If successful, the Plum Clock will appear on the main store Dashboard for the clock. Installation is then complete.
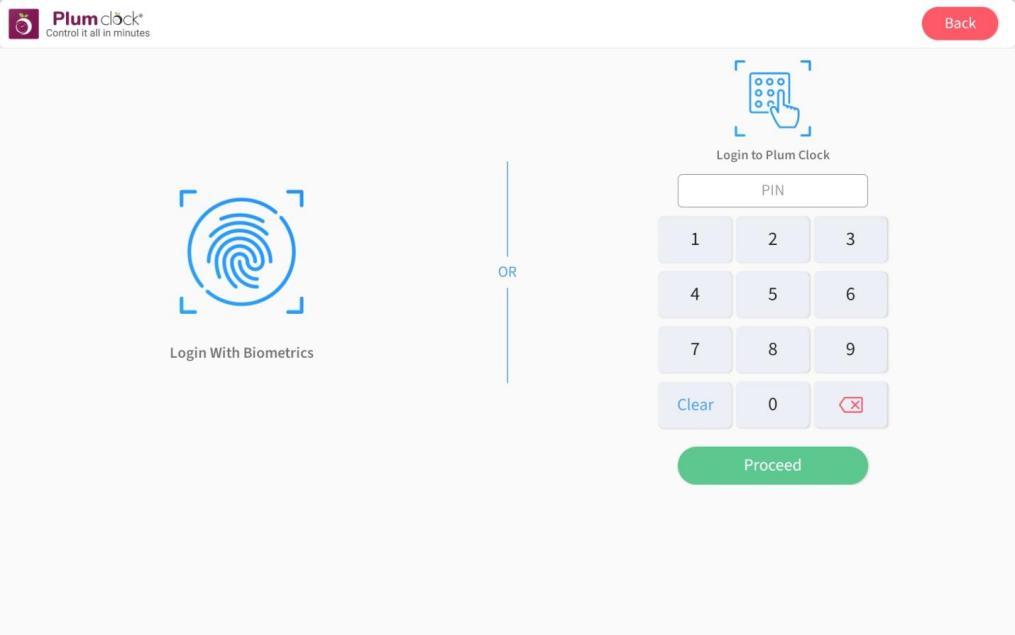
Step 9: To test if the clock is functioning, on the time clock device, click the settings icon in the upper right-hand corner.
-
- It will ask you for a manager’s pin. Enter the manager’s 4-digit pin
-
- This should bring you to a menu of options
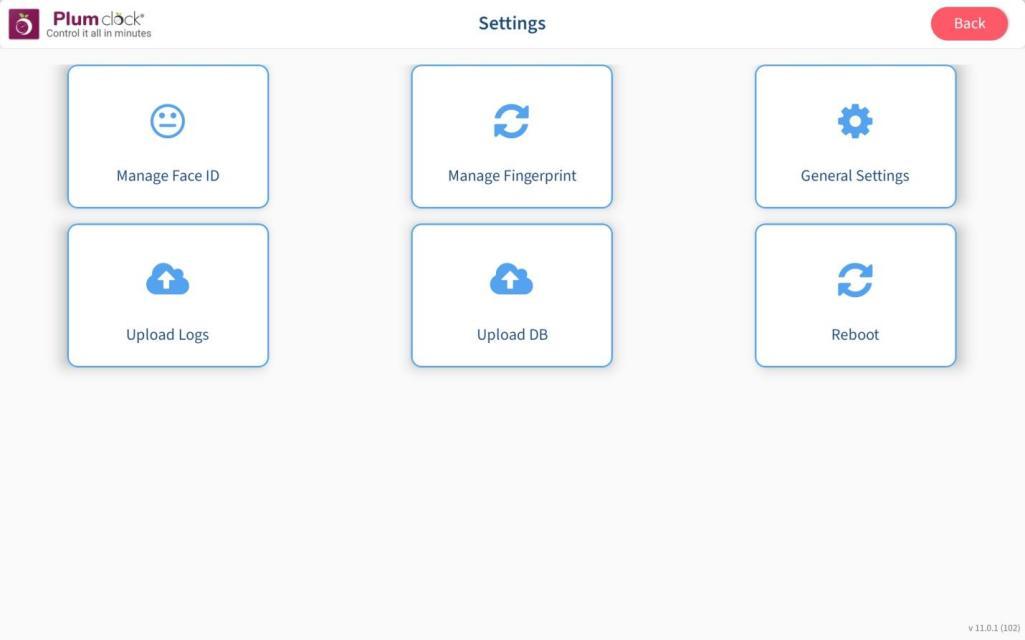
- Time clock is complete in the set up.
- ***NOTE*** Managers will then need to add their employee’s facial recognition one employee at a time for use of the time clock if this feature is enabled.