
Employee(s) information:
The Employee module is a core part of the application, allowing Managers to efficiently manage and maintain employee data.
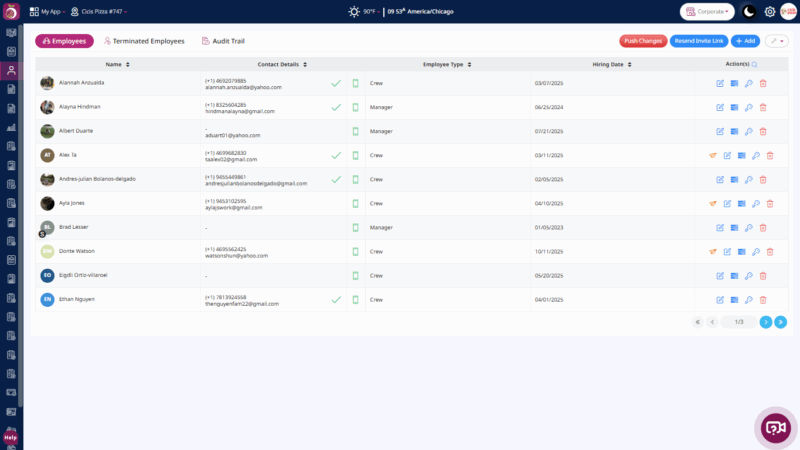
Step 1: Navigate to the Employees section from the main menu.
Key Fields:
- Name:
Displays the full name of each employee registered in the POS system. This helps identify individual team members when reviewing performance, schedules, or transaction history. - Contact Details:
Shows the employee’s phone number and/or email address. These details are useful for internal communication, shift notifications, and HR coordination. - Employee Type:
Indicates the role or designation of the employee, such as Cashier, Server, Manager, or Administrator. This classification helps in assigning permissions, analyzing performance by role, and managing access controls in the POS system. - Hiring Date:
Displays the date when the employee joined the organization. This field assists in tracking tenure, evaluating experience levels, and managing anniversary or appraisal-related activities. - Action(s):
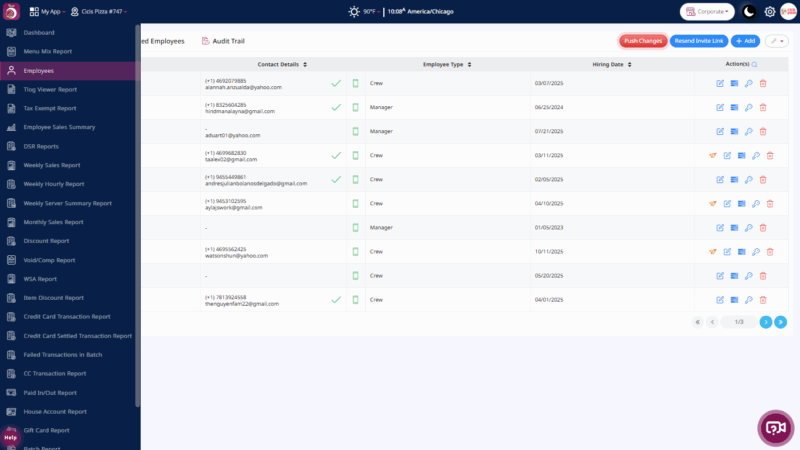
Provides quick-access options such as Edit, View Details, Availability, Deactivate, or Reset Password. Managers can perform employee-related actions directly from the dashboard without navigating multiple screens. - Push Changes:
The Push Changes button is used to synchronize any modifications made to employee details from the dashboard to the connected POS terminals. This ensures that all updates, such as new hires, edits, or terminations, are reflected across all linked devices in real-time. - Resend Invite Link:
The Resend Invite Link button allows the admin to send the login or onboarding link again to an employee who hasn’t completed their registration or activation process. This is useful if the employee missed the original invite email or SMS. - Add Employee:
The Add Employee button enables the admin to manually create a new employee record by entering details such as name, contact information, employee type, and hiring date. This helps in adding new team members directly from the dashboard. - Import CSV:
The Import CSV button allows bulk uploading of employee data using a CSV file. This is helpful when onboarding multiple employees at once, reducing manual entry time and ensuring data consistency. - Invite Employee:
The Invite Employee button is used to send an invitation link to new employees so they can activate their account, set up credentials, and gain access to the Plum POS system.
Step 2: Terminated Employees [Tab]
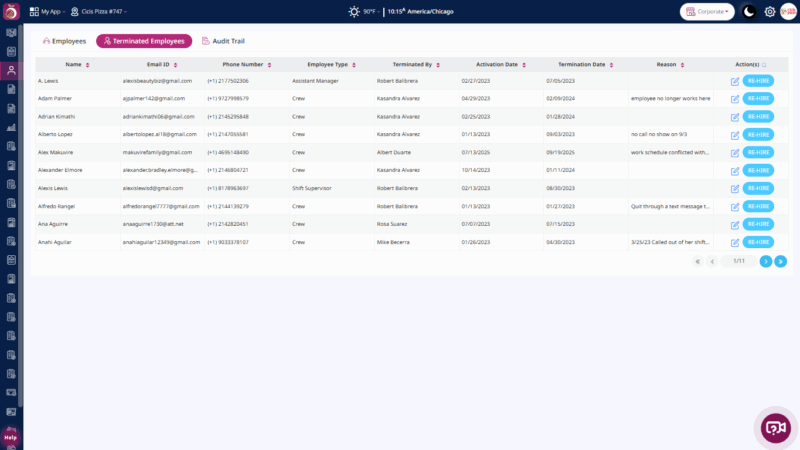
The Edit and Rehire buttons in the Employee Sales Report are provided to manage employee information efficiently.
- Edit Button:
Used to update existing employee details such as name, contact information, employee type, or hiring date. This helps maintain accurate and up-to-date employee records directly from the report screen.
Rehire Button:
Used to reinstate a former employee who was previously terminated or inactive. When the Rehire option is selected, the employee’s record becomes active again, allowing them to be included in the system for scheduling, sales tracking, and reporting purposes.
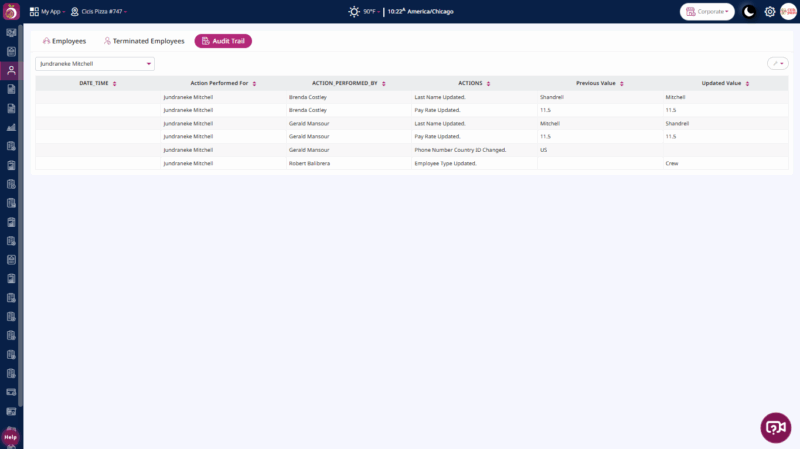
Step 3: In the Audit Trail tab, users can view the actions performed and identify which employee each action was associated with.