

Introduction
This document outlines the process of adding a Menu Group in the Plum POS application and determines the required steps to add a Menu Group in the correct manner.
What is a Menu Group?
A menu group is a feature that organizes all items of the same category into a single group. This organization simplifies the process of adding menu items to the POS (Point of Sale) terminal. When a menu group is created, it becomes visible on the POS interface, displaying all the items within that category. This not only streamlines the workflow for staff but also enhances the efficiency of managing and navigating the menu.
For example, in a Restaurant setting, you might have menu groups such as “Beverages,” “Appetizers,” “Main Courses,” and “Desserts.” Each group contains relevant items.
How to add a Menu Group in the Plum POS application?
Here is the steps by steps guide to add a menu group in the specific account.
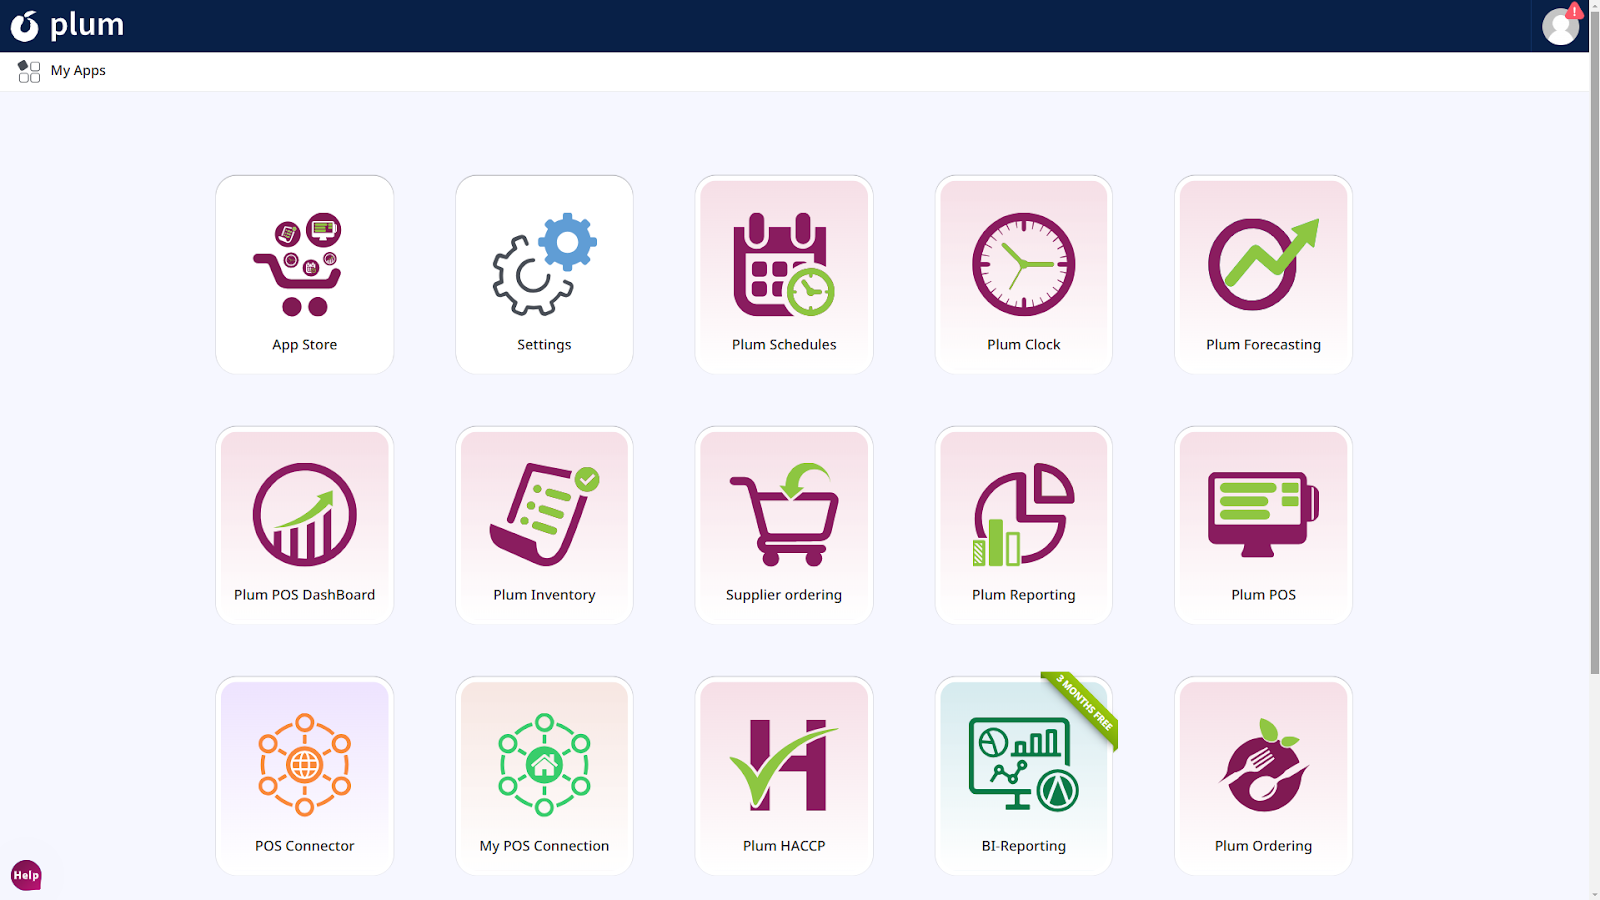
Step 1: Login into the Plum POS account and click on the Settings.
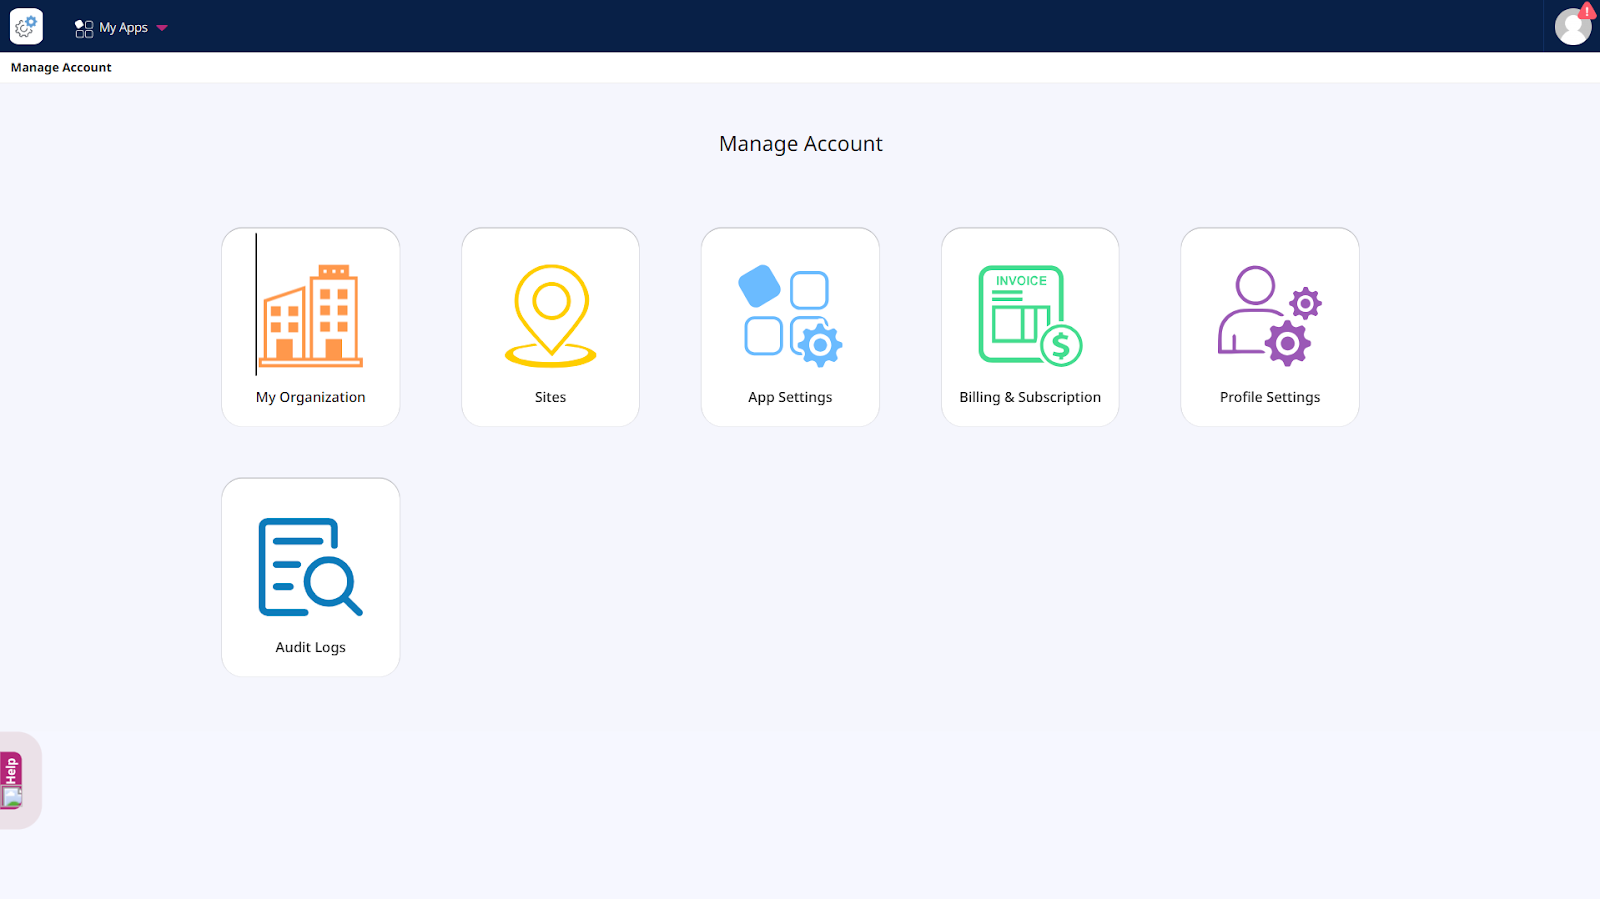
Step 2: Click on the App Settings option
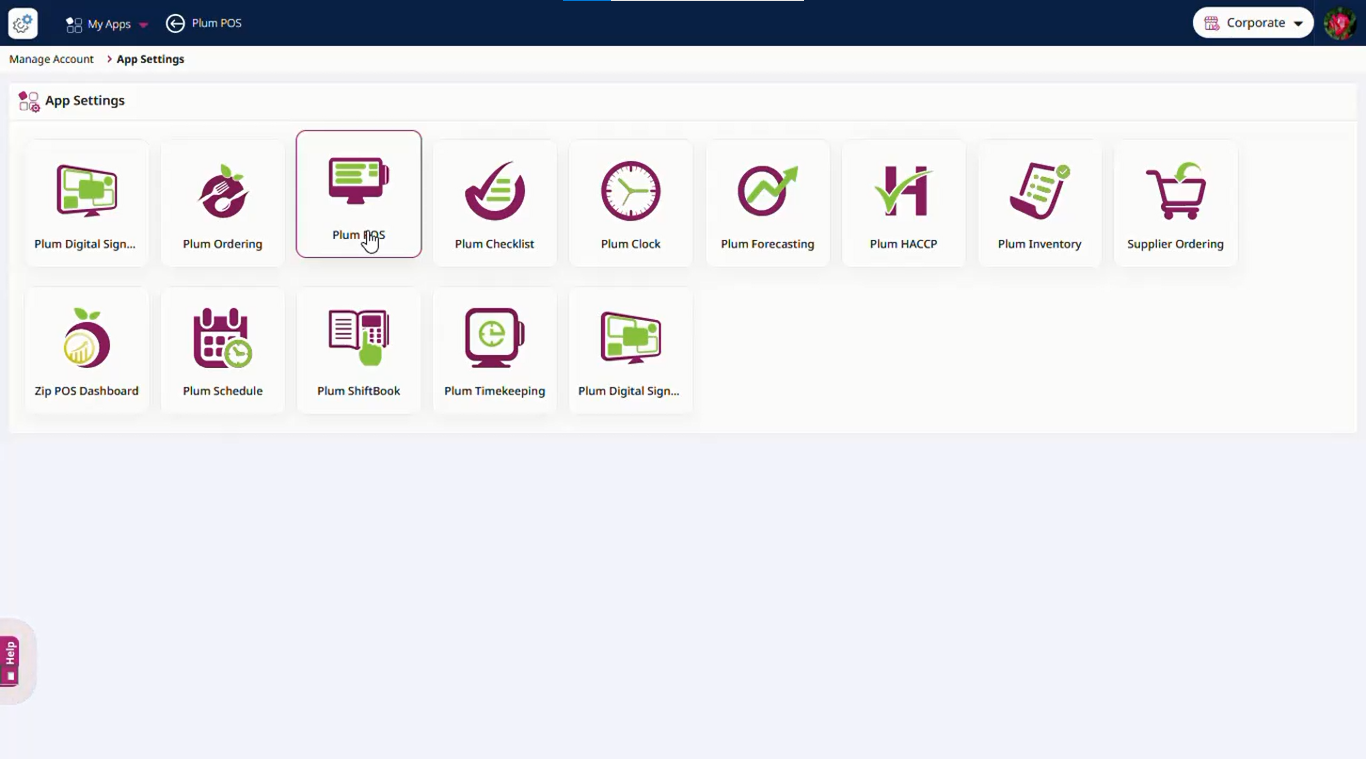
Step 3: Select the PLUM POS application
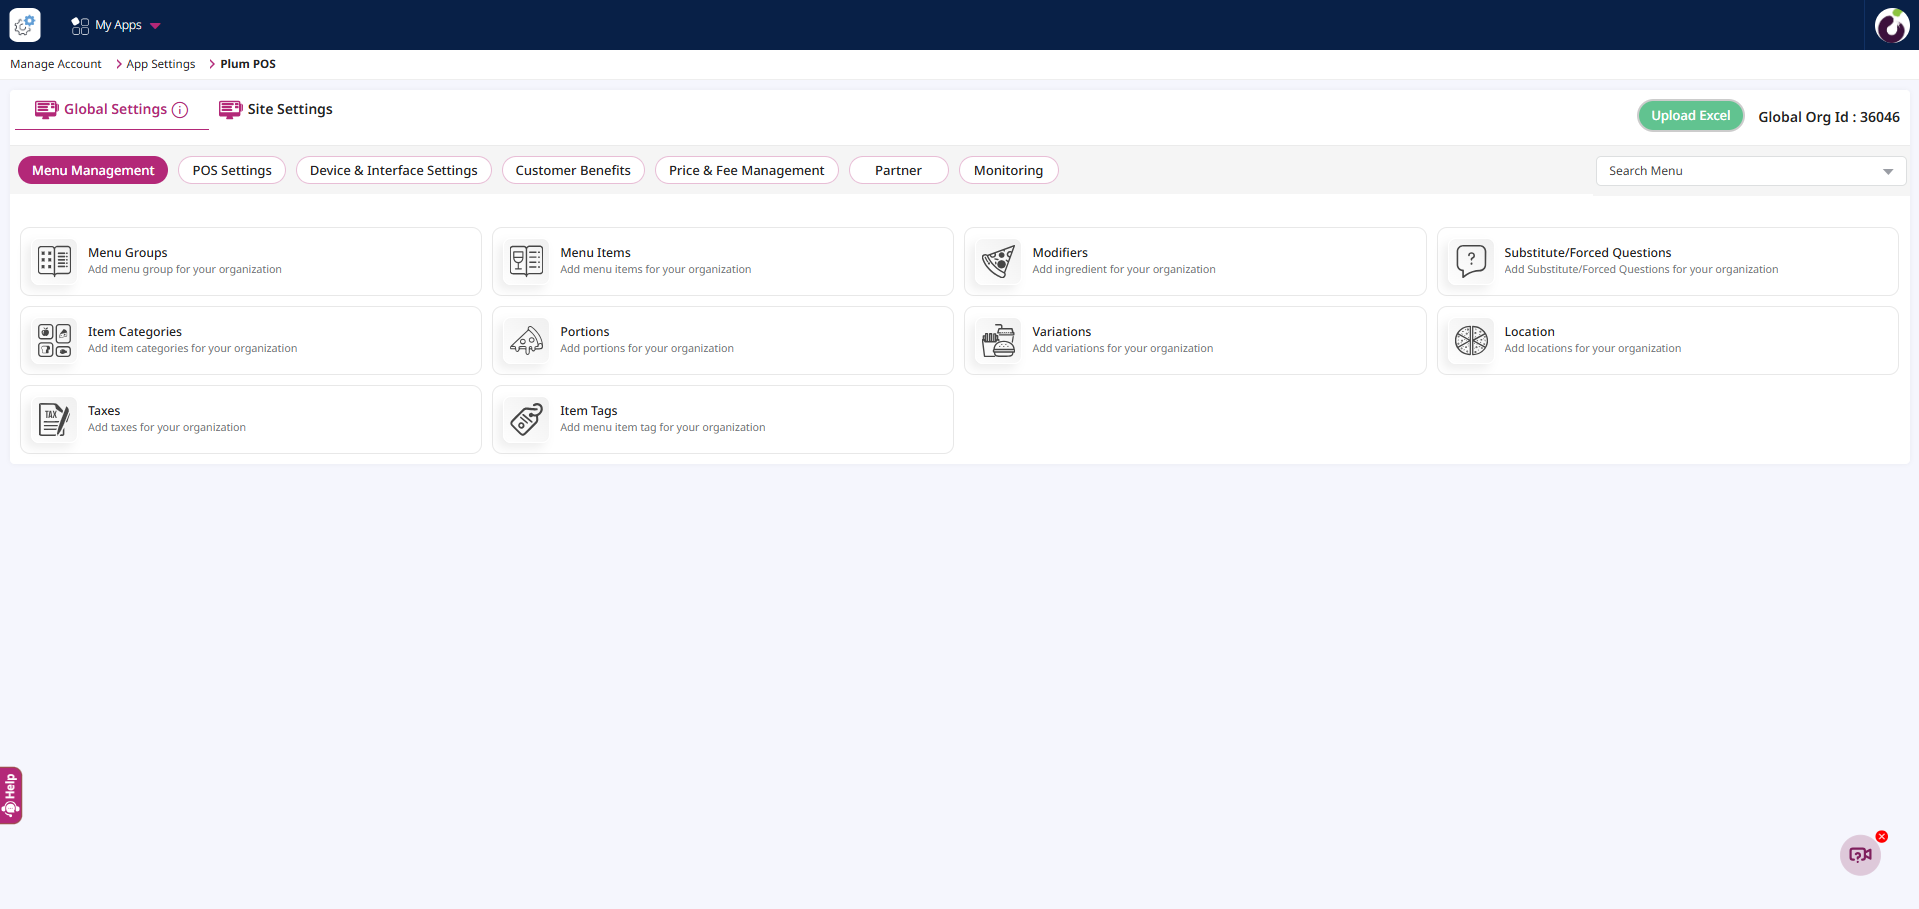
Step 4: Navigate to the Menu group and click on it, to navigate into the details screen.
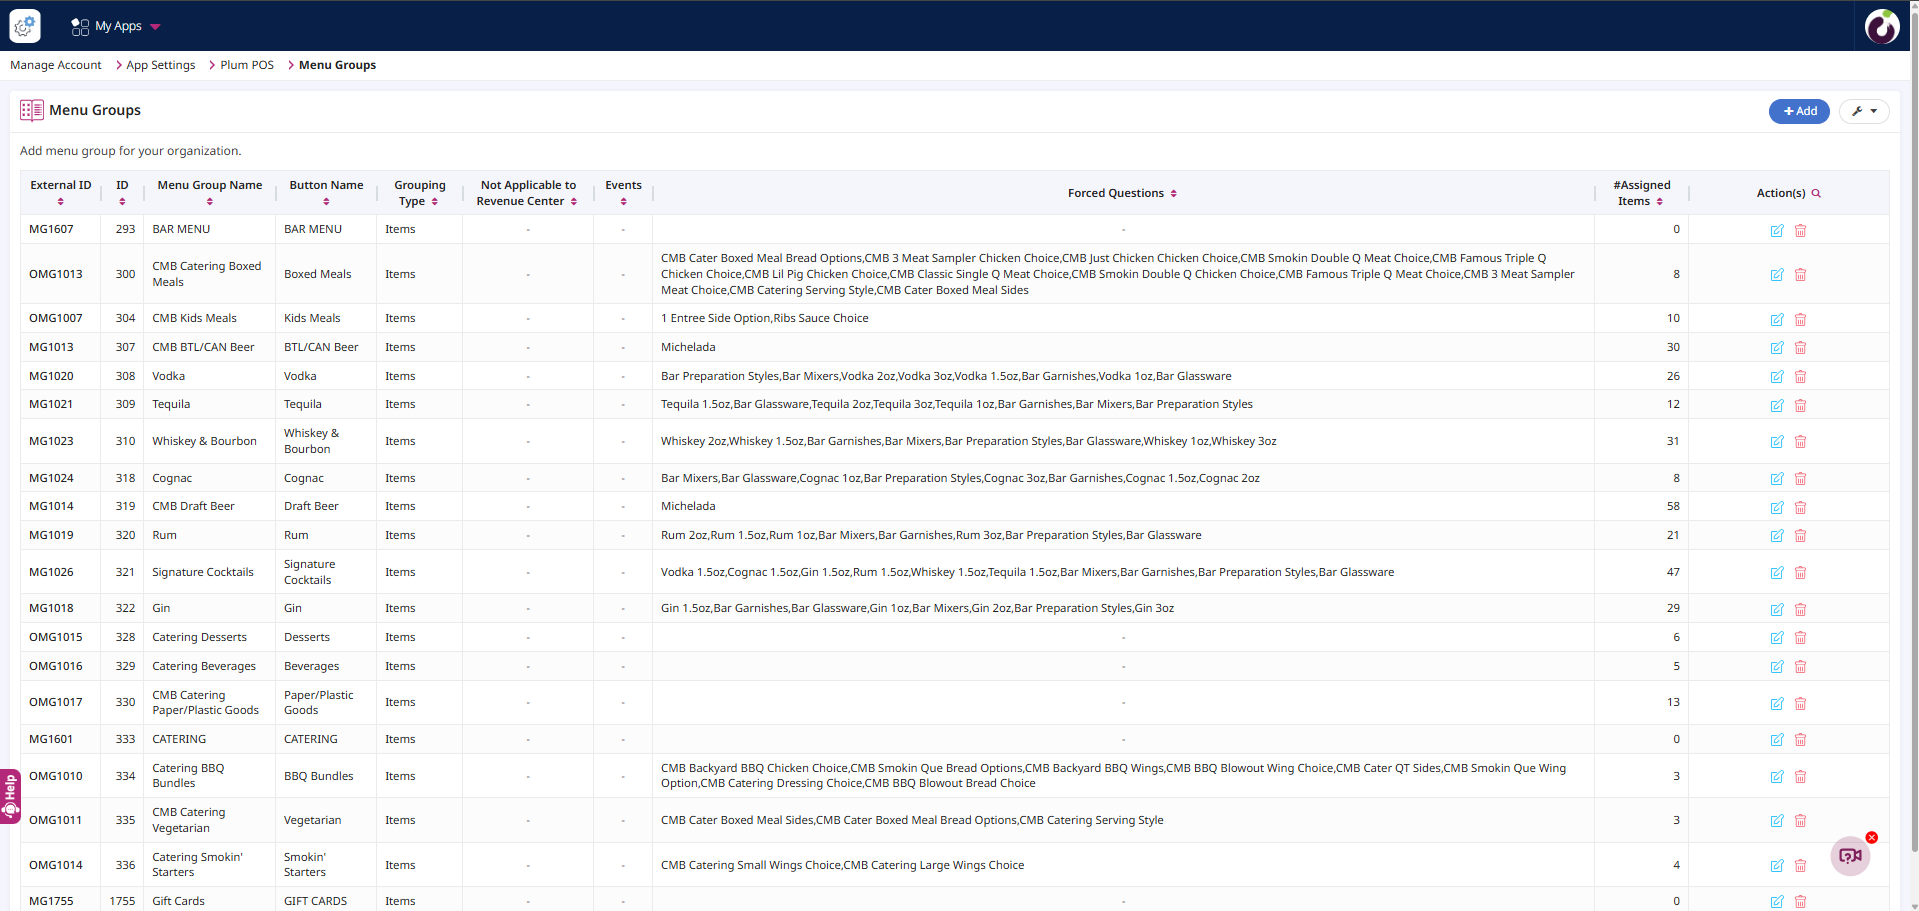
Step 5: Once a user clicks on the Add button, you can create a new Menu Group by entering all the required details.
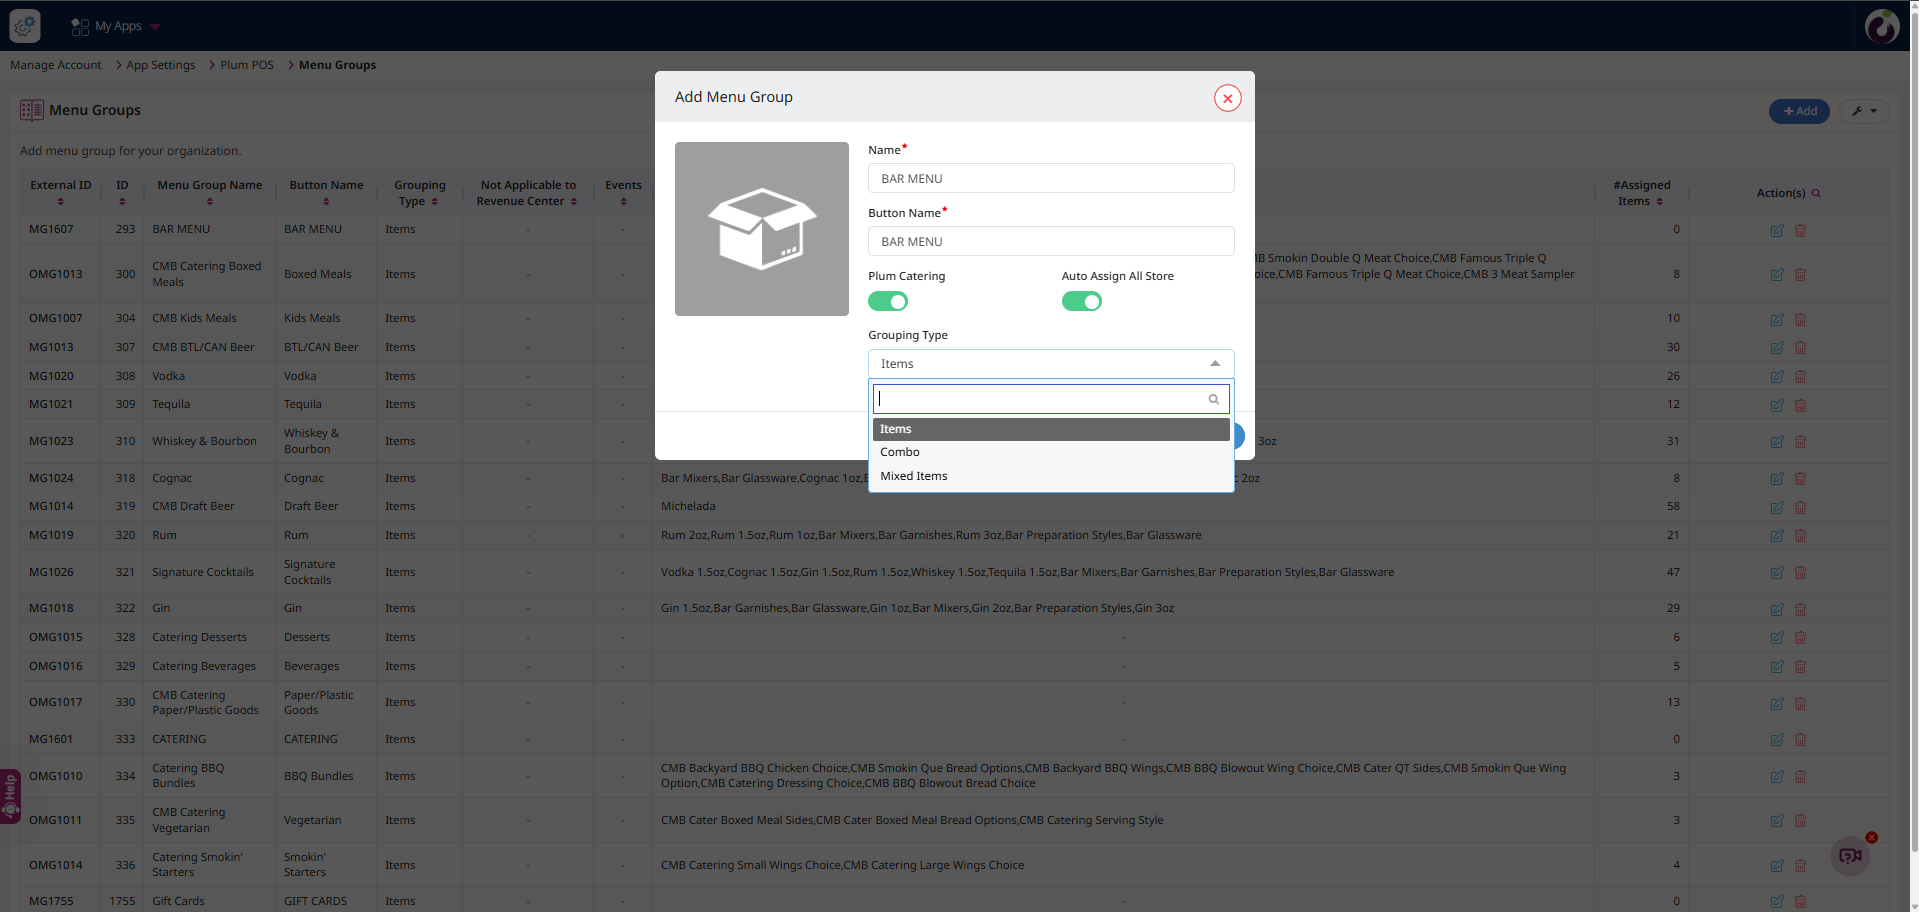
Note: Below are the detailed explanations of the field that are required to be filled in order to add a Menu Group in the system.
- Name*: Name of the Menu Group
- Button Name*: It is the name that will appears on the PLUM POS Terminal
- Auto Assign All Store: By default, the flag should be set to True, enabling the menu group to assign all stores within the organization automatically. If the flag is set to false, users must manually assign stores one at a time.
- Grouping Type: In the Grouping Type field, you will have three options to choose from Item Group, Combo Group and Mixed Item Group. Also a user can assign an image to the menu group by clicking on the thumbnail.
Step 6: Click on Proceed [button], after filling the mandatory fields. The User should navigate to the General detail screen.
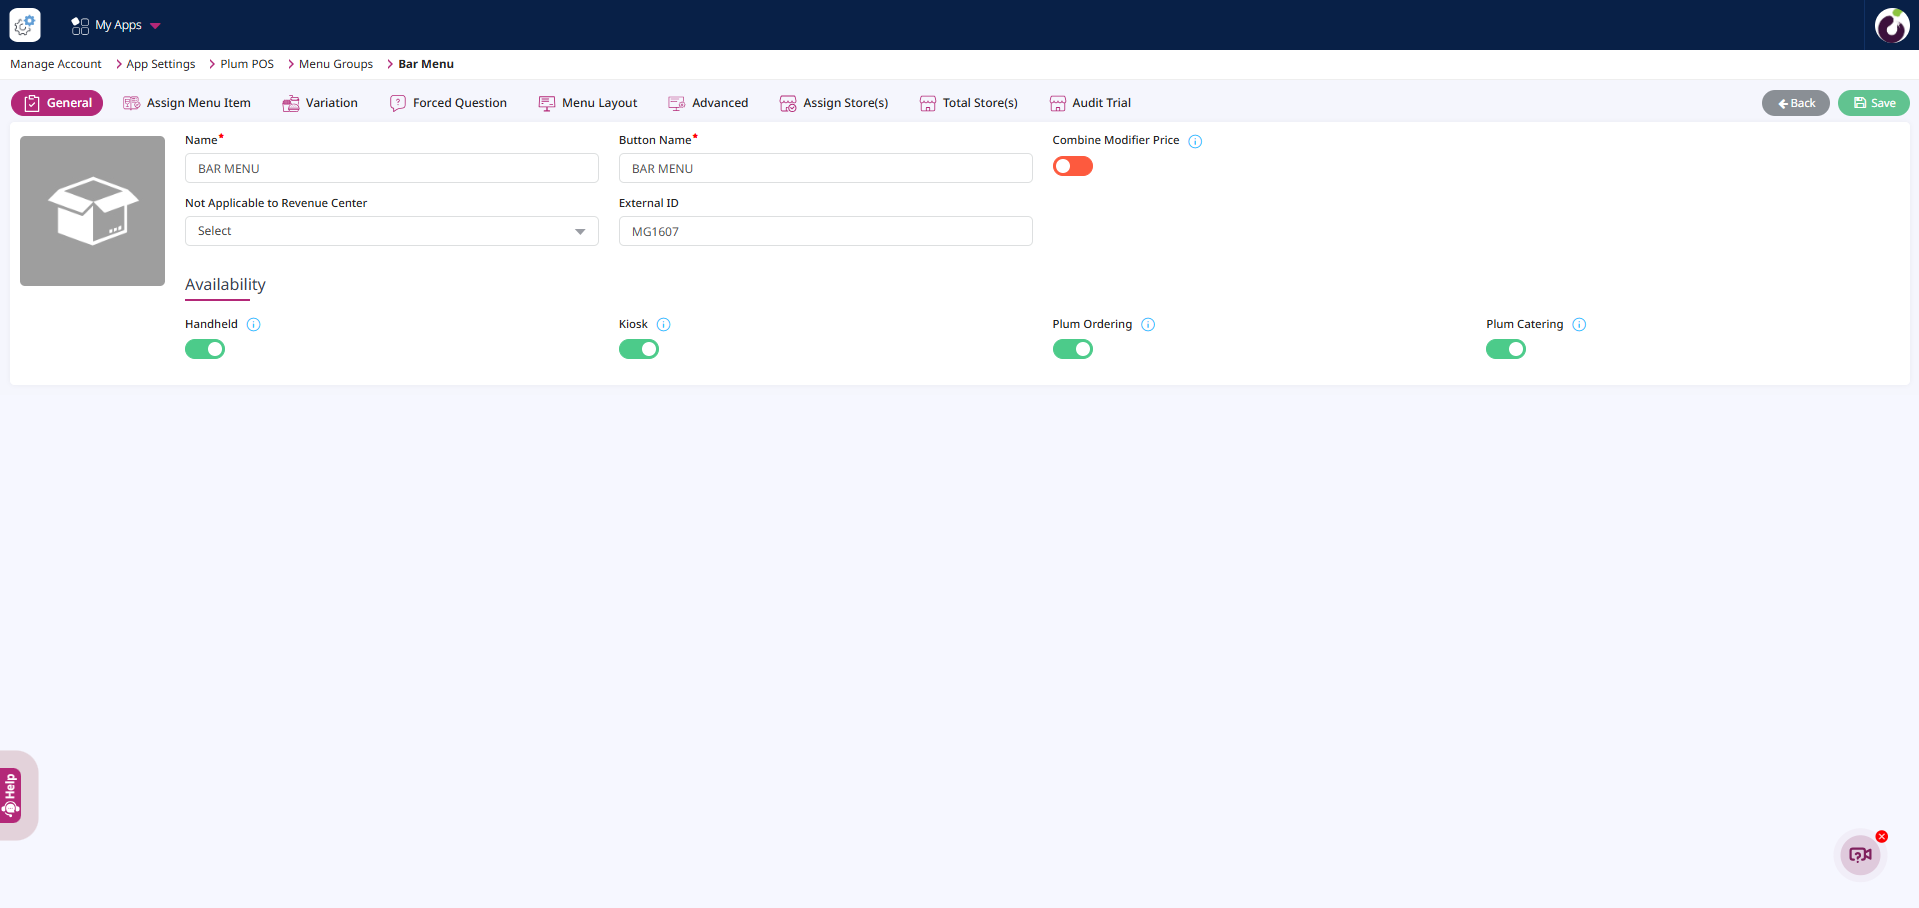
In the [General] tab, the following options are available, along with their explanations:
- Name*: Name of the Menu Group
- Button Name*: It is the name that will appears on the PLUM POS Terminal
- Combine Modifier Price: The price of modifiers will be combined with the price of menu items in the check. No price will be displayed on the modifiers.
- Not Applicable to Revenue Center: If a user selects a specific Revenue Center from the dropdown, only the Menu Groups not associated with that Revenue Center will not remain applicable and accessible. Menu Groups that are not linked to the selected Revenue Center will automatically be excluded from view or operation. This ensures that each Revenue Center is configured to display only the relevant Menu Groups, helping streamline operations, reduce errors, and maintain consistency in menu offerings tailored to that specific Revenue Center.
Availability [Option]
- Handheld : If true, the Menu group will be available on Handheld device.
- Kiosk : If true, the Menu group will be available on Kiosk terminal.
- Plum Ordering : If true, the Menu group will be available on Plum Ordering channel.
Step 7: When the user clicks the Save [button], a success message stating, “Menu Group saved successfully.” should be displayed.