Introduction
In this document, we will briefly describe the Quick Sales and Table Layout Orders and the steps required to get it configured for the restaurant.
What is a Quick Sales/Cash Register and Table Layout Order?
In our system, we have a different modes to complete a order in Terminal for a customer, which are as mentioned below:
• Quick Sale
• Table Layout
Quick Sales/Cash Register
Quick sales are those sales which are done in a restaurant and a customer takes his order and moves out of the restaurant such as TOGO orders. It will streamline the ordering process in the crowded restaurants. Also,quick sales increase the speed of the order taking process and volume of the transaction.
Table Layout:
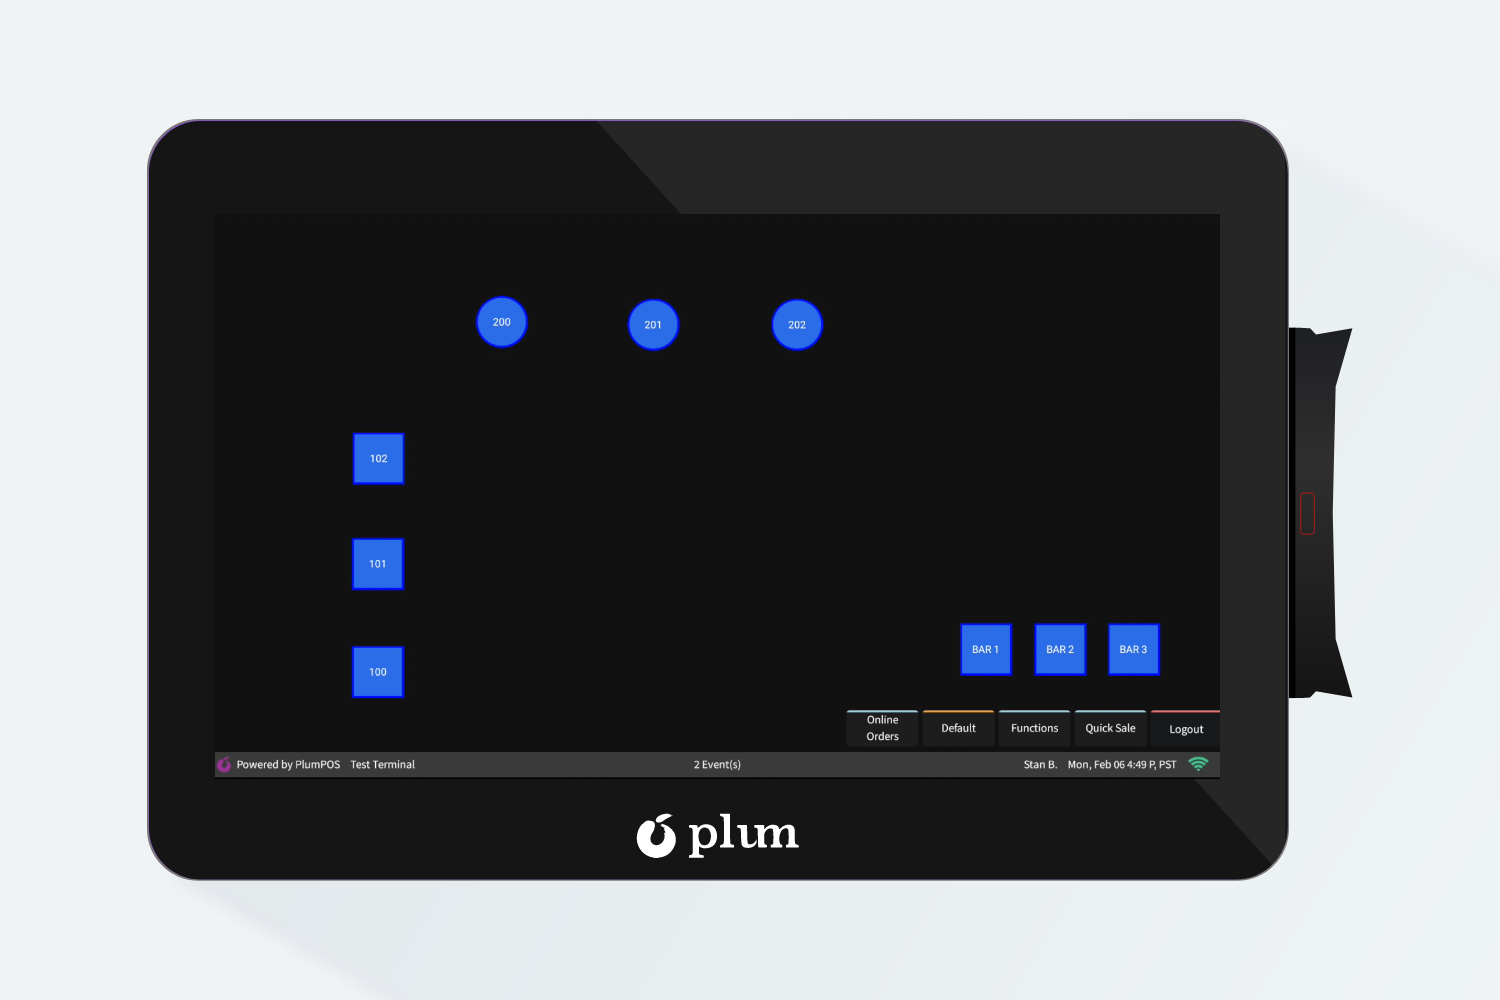
Table layout is the common term in the restaurant domain which means a restaurant has a Dine In faciality and our POS offers them to configure the replica of the same Table layout in the POS terminal, So that, a server can easily book a table for a customer and will do a transaction for the same table.
Selecting table layout for a customer will also help the restaurant to reconcile sales on the table orders in the reporting.
Steps to Take Orders on Quick Sales Mode
In order to do any transaction/Sale on the Quick sales mode, following steps are required to get it done
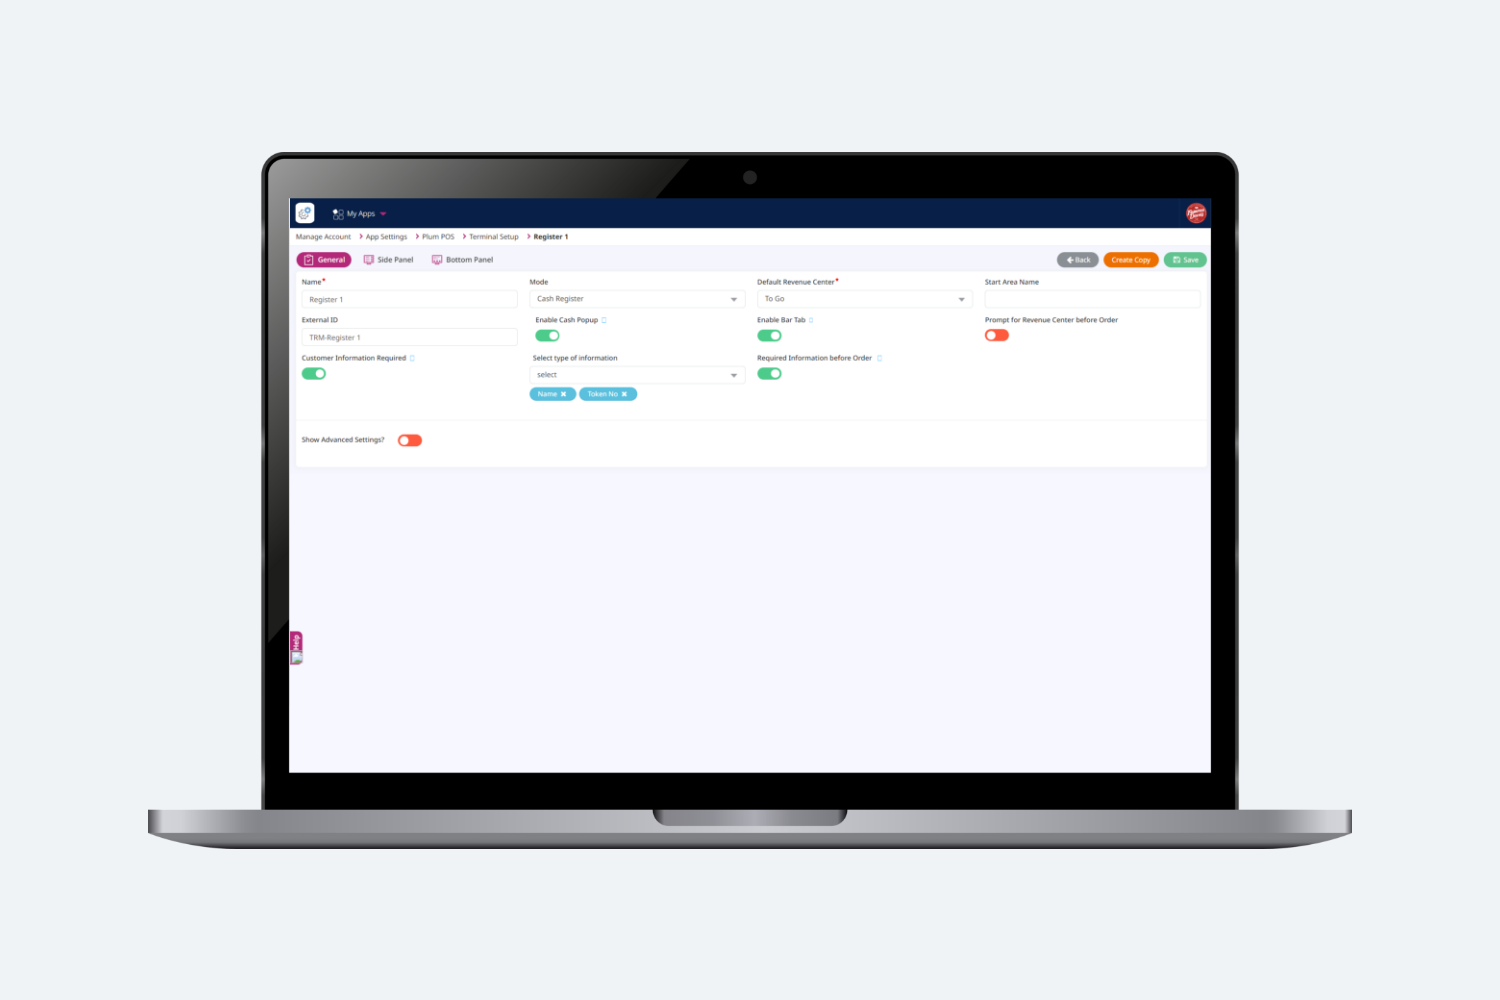
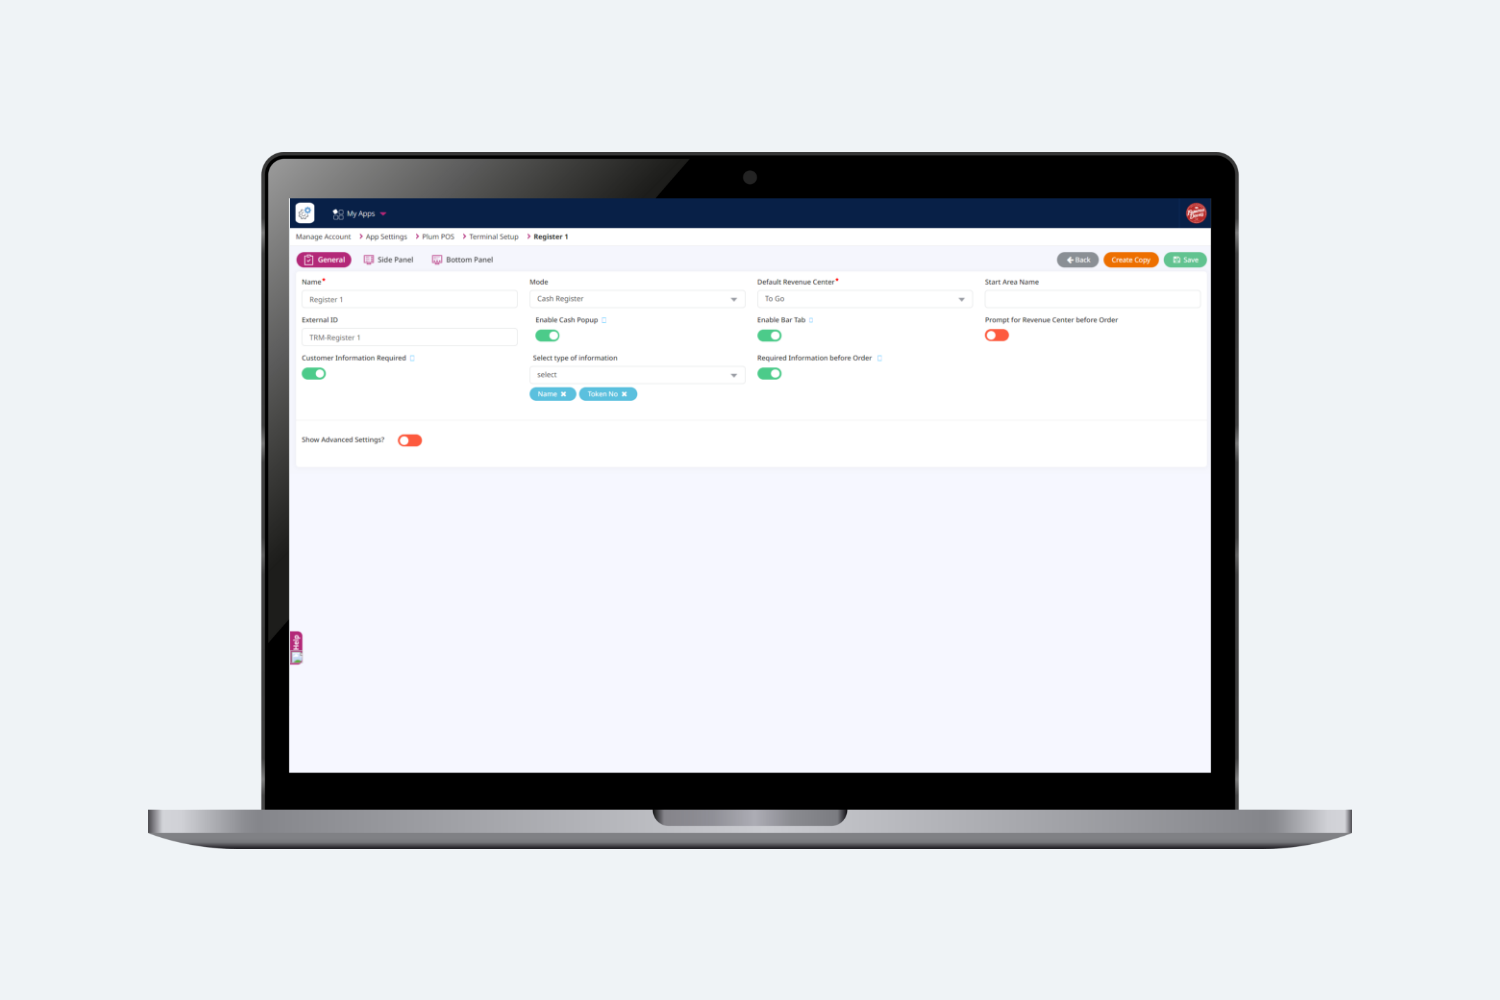
Step 1. Set the terminal lookup in Hubworks to Cash Register mode. Once configuration has been done for the terminal, push the data on the respective store from store settings
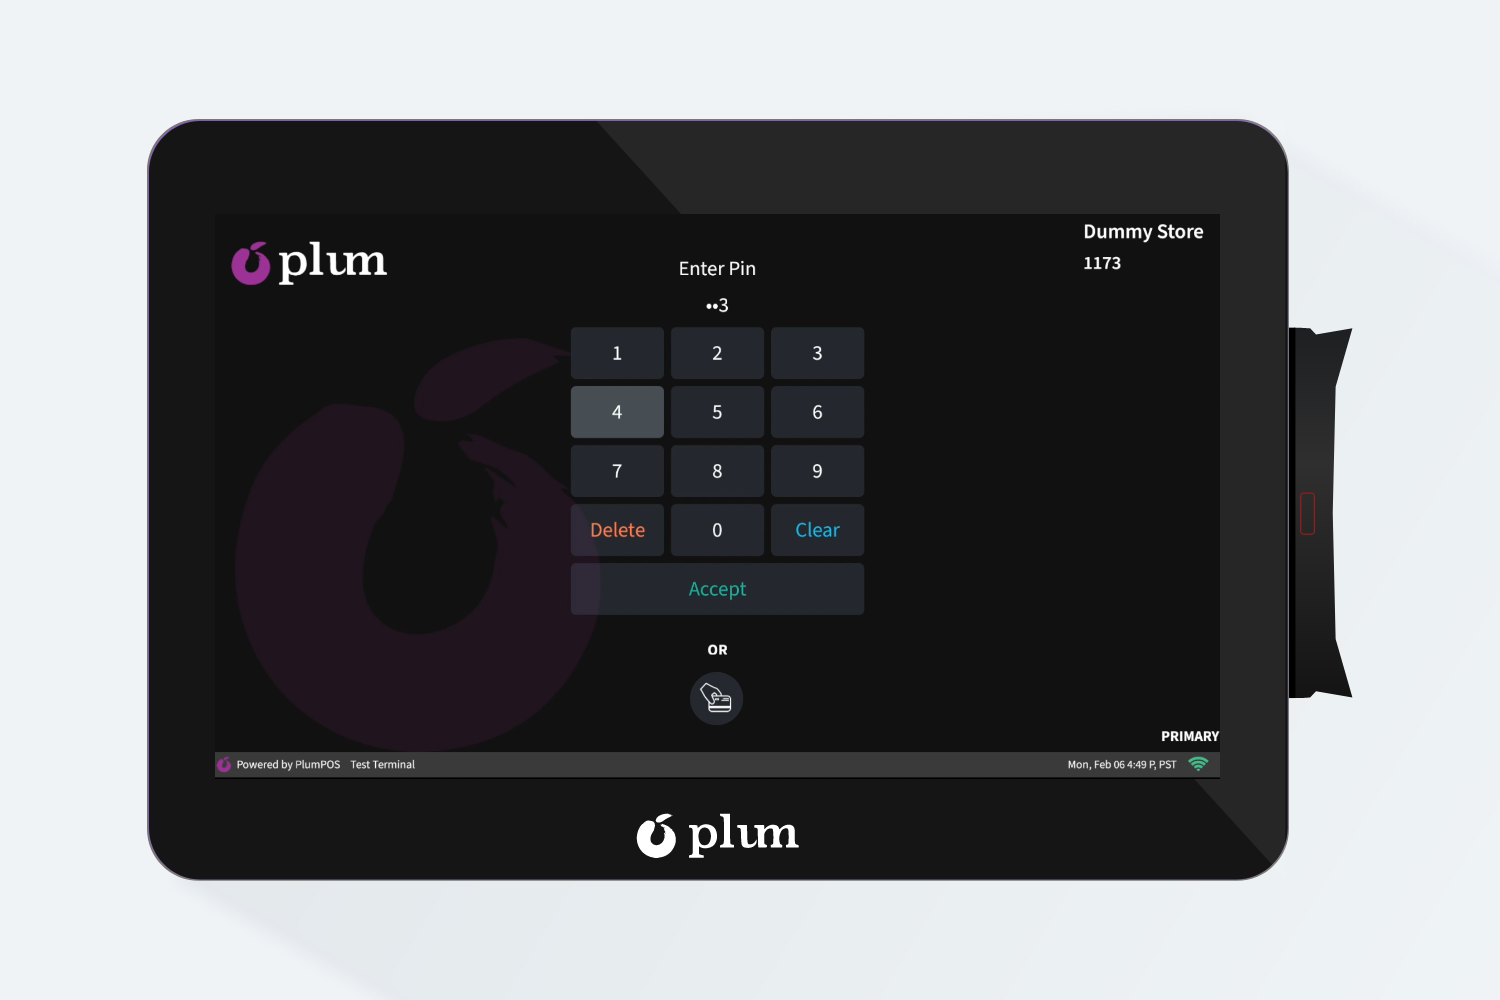
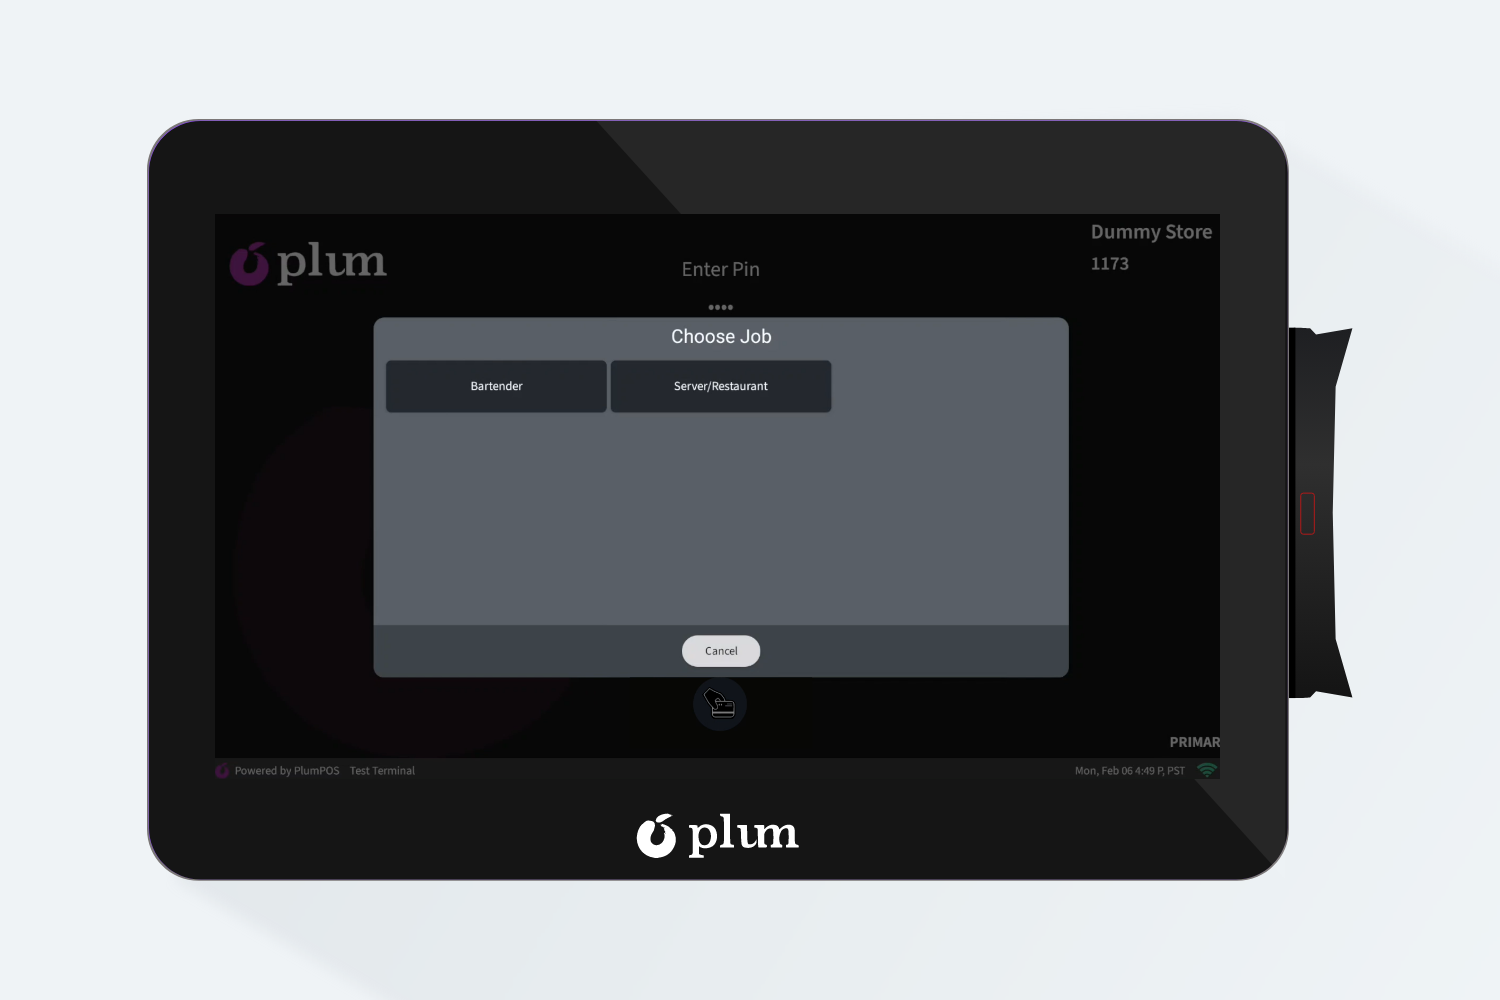
Step 2. Login into the POS with employee Pin and select the JOB CODE (if a employee has multiple JOB Code assigned by the Manager)
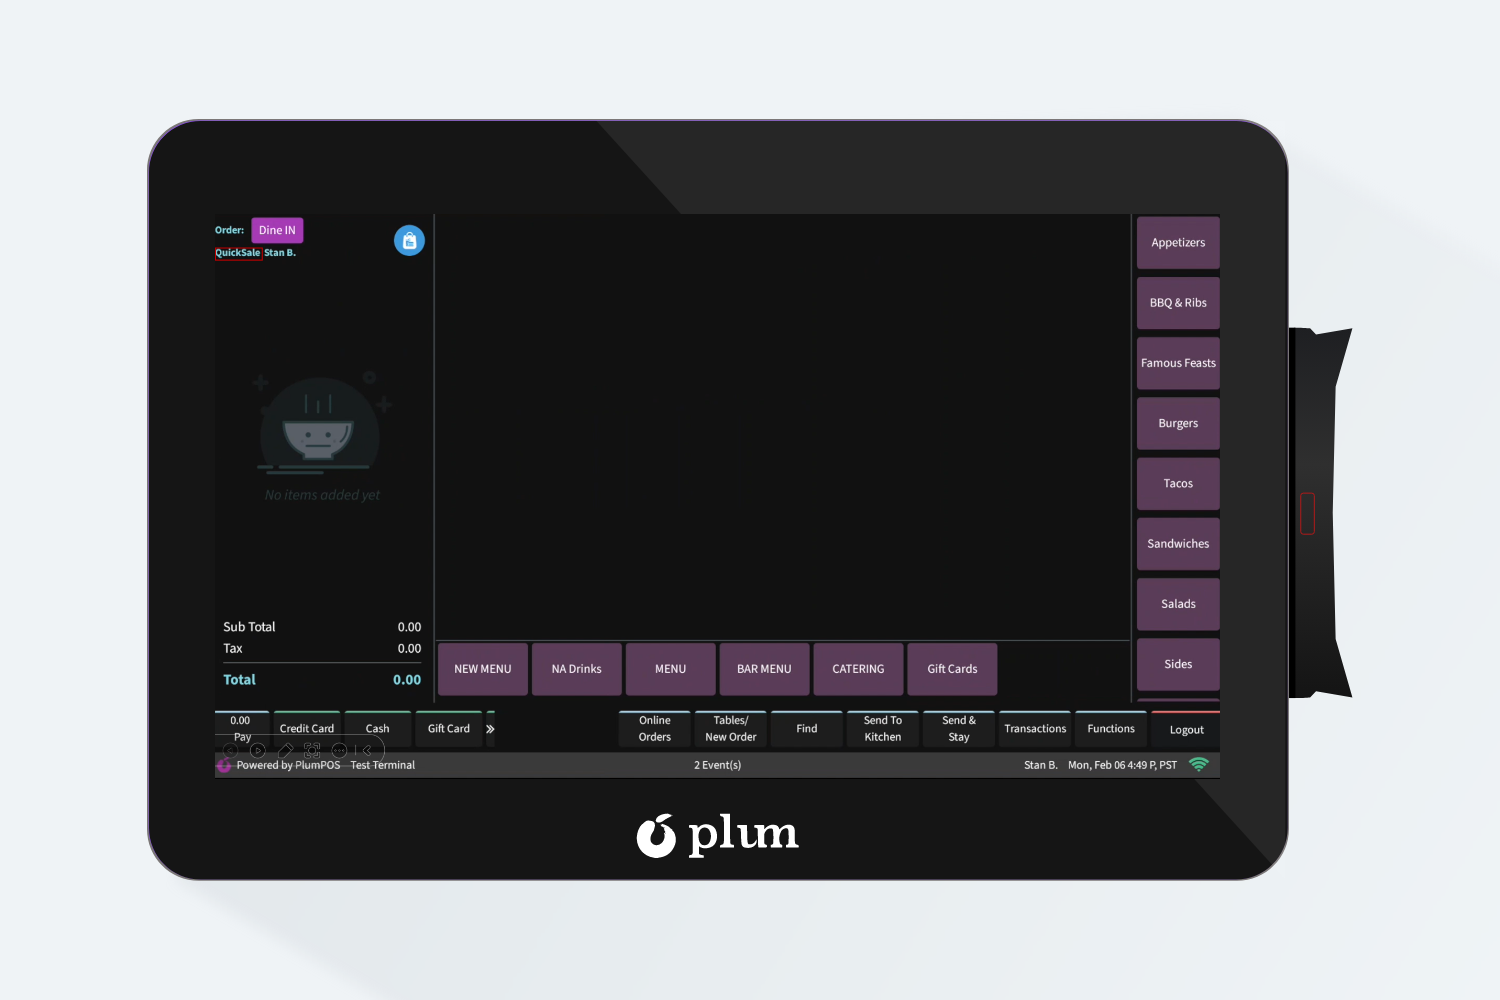
Step 3: Once the user selects the JOB CODE, they will be navigates to the Quick Sale Mode on the Terminal and now they are ready to take order with the same mode.
Steps to Take Orders on Table layout Mode:
Step 1. Set the terminal lookup in Hubworks to Table Service mode. Once configuration has been done for the terminal, push the data on the respective store from store settings
Step 2. Login into the POS with employee Pin and select the JOB CODE (if a employee has multiple JOB Code assigned by the Manager)
Step 3: Once the user selects the JOB CODE, they will be navigated to the Table Layout on the Terminal and now they are ready to take orders
Once the user selects the table layout they will be navigating to the ordering screen and from there they can start adding items in the check for a customer.

