
Introduction
This document will outline in detail the steps that are required to log into the Plum POS terminal with the employee PIN.
What types of job codes should be assigned to employees in Plum POS?
Job Code/ Job Classes determine the access of the function on the IPA and based on that a server can have access to the POS. The different types of Job Codes/Job Classes in the Plum POS app are listed below:
- Manager
- Cashier
- Supervisor
- Server
- Bartender
- Time Clock Only
Configurations to be set up in Plum POS app setting before login into POS:
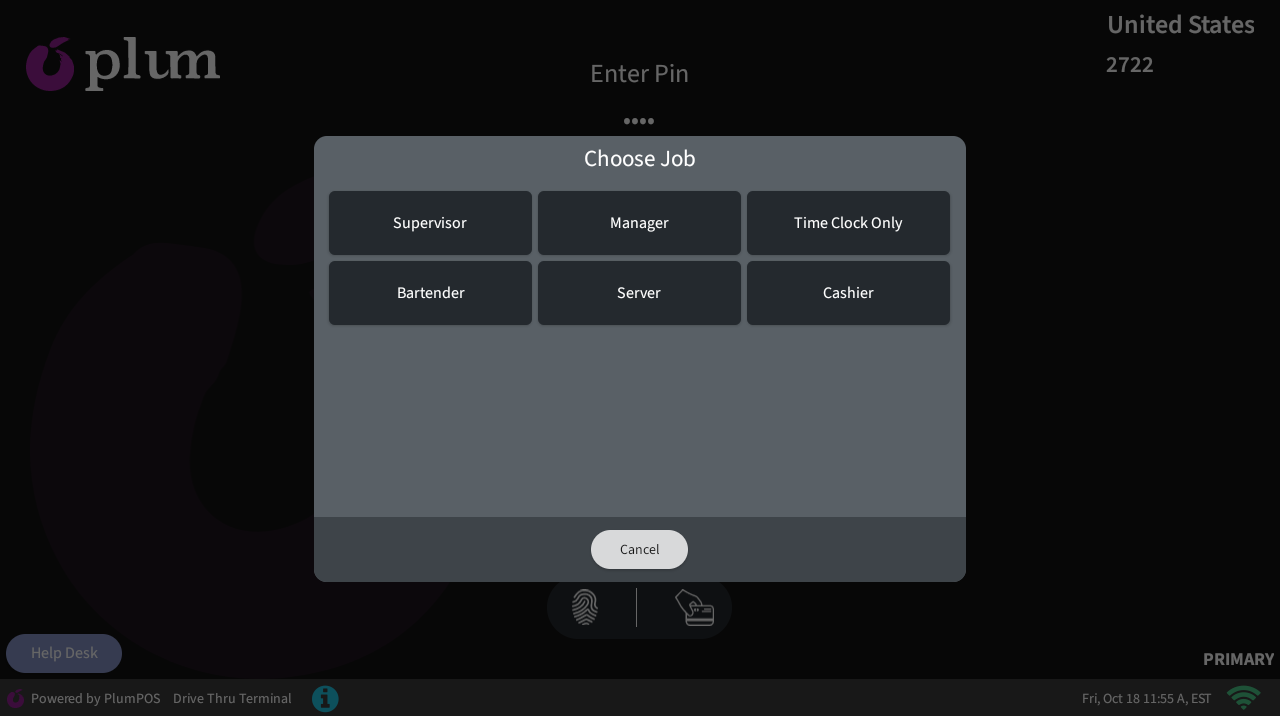
A server can only log into the terminal once the following configuration is made on Plum. After entering their 4-digit PIN to log into the terminal, the server must select the order class (Revenue Centre) and the assigned job code (By Manager). This selection is mandatory.
This setup allows the store manager to know the server’s working position and ensures that this information is recorded in the reports. It helps track sales based on the employee and order class.
How to Configure the Job Codes and Employees in the Plum POS app setting?
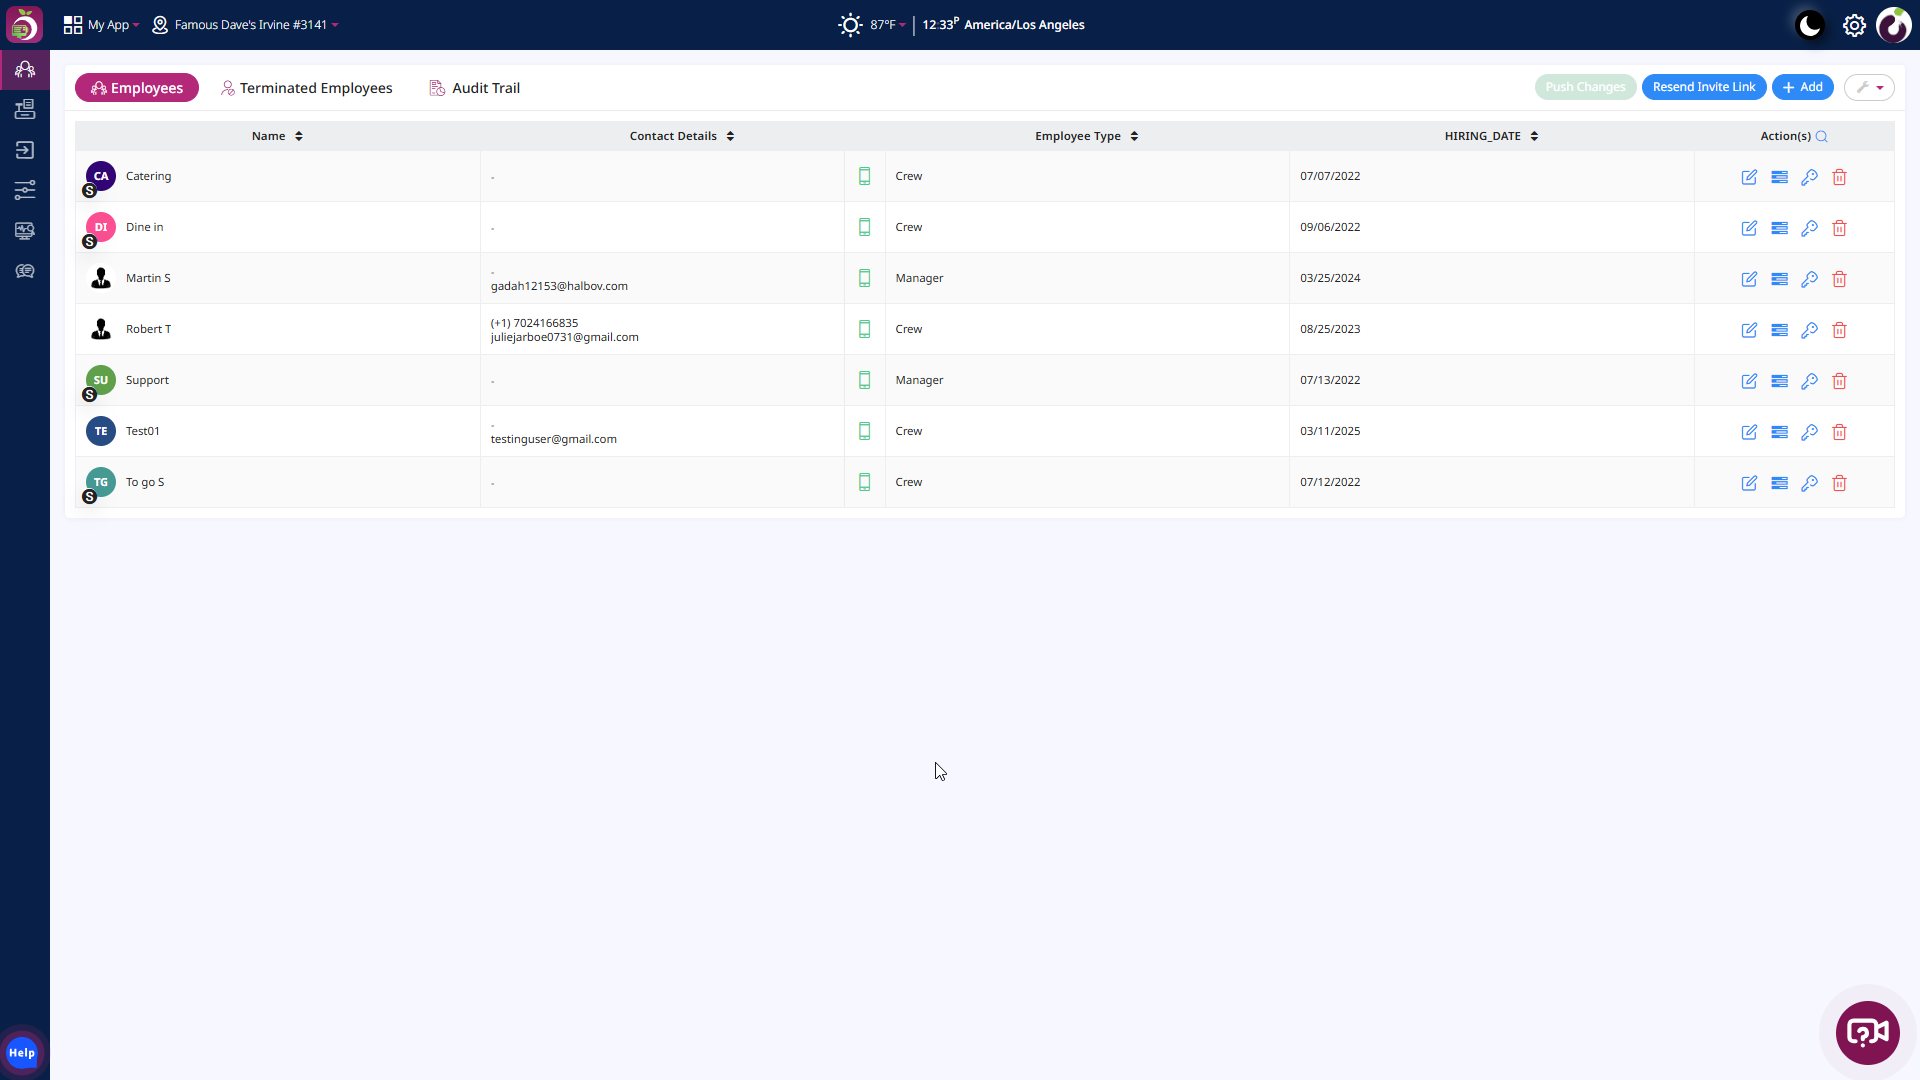
Step 1: Open the Plum POS application settings and move to the module “Job Codes”.
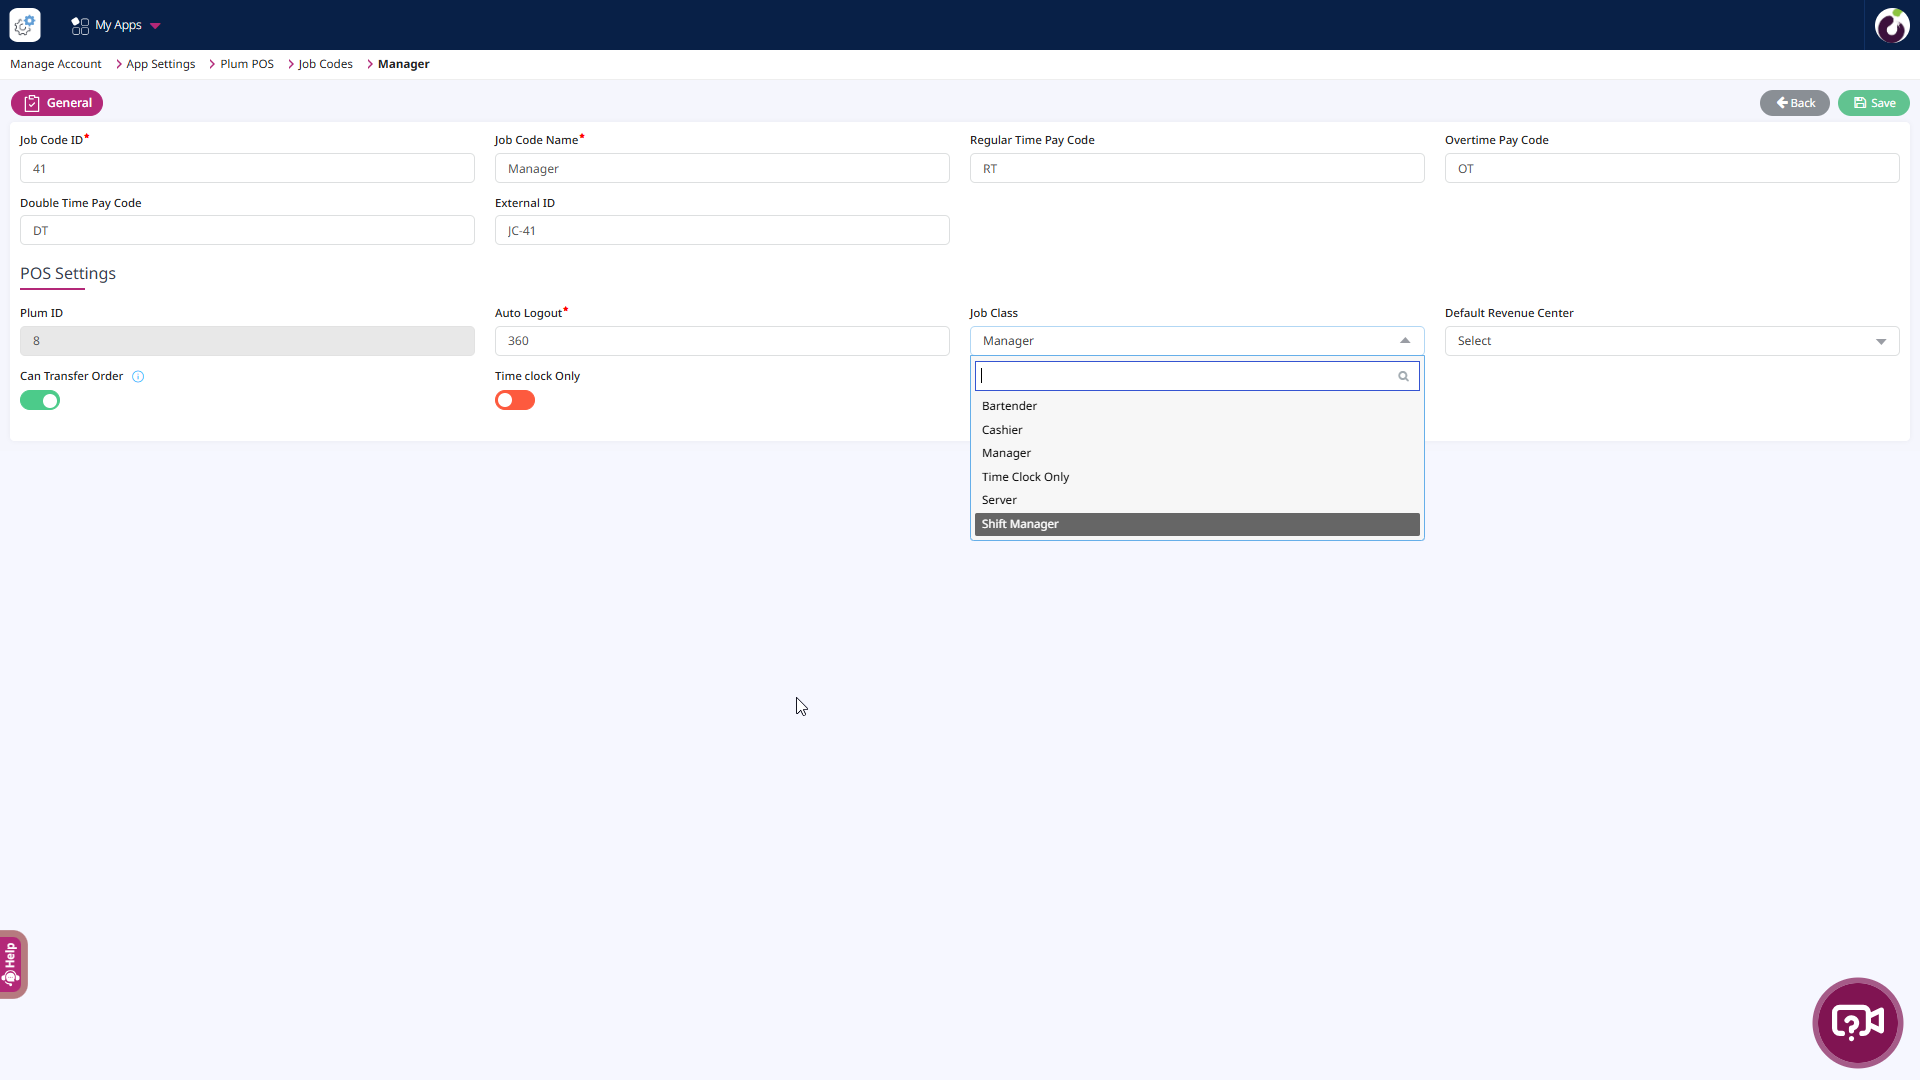
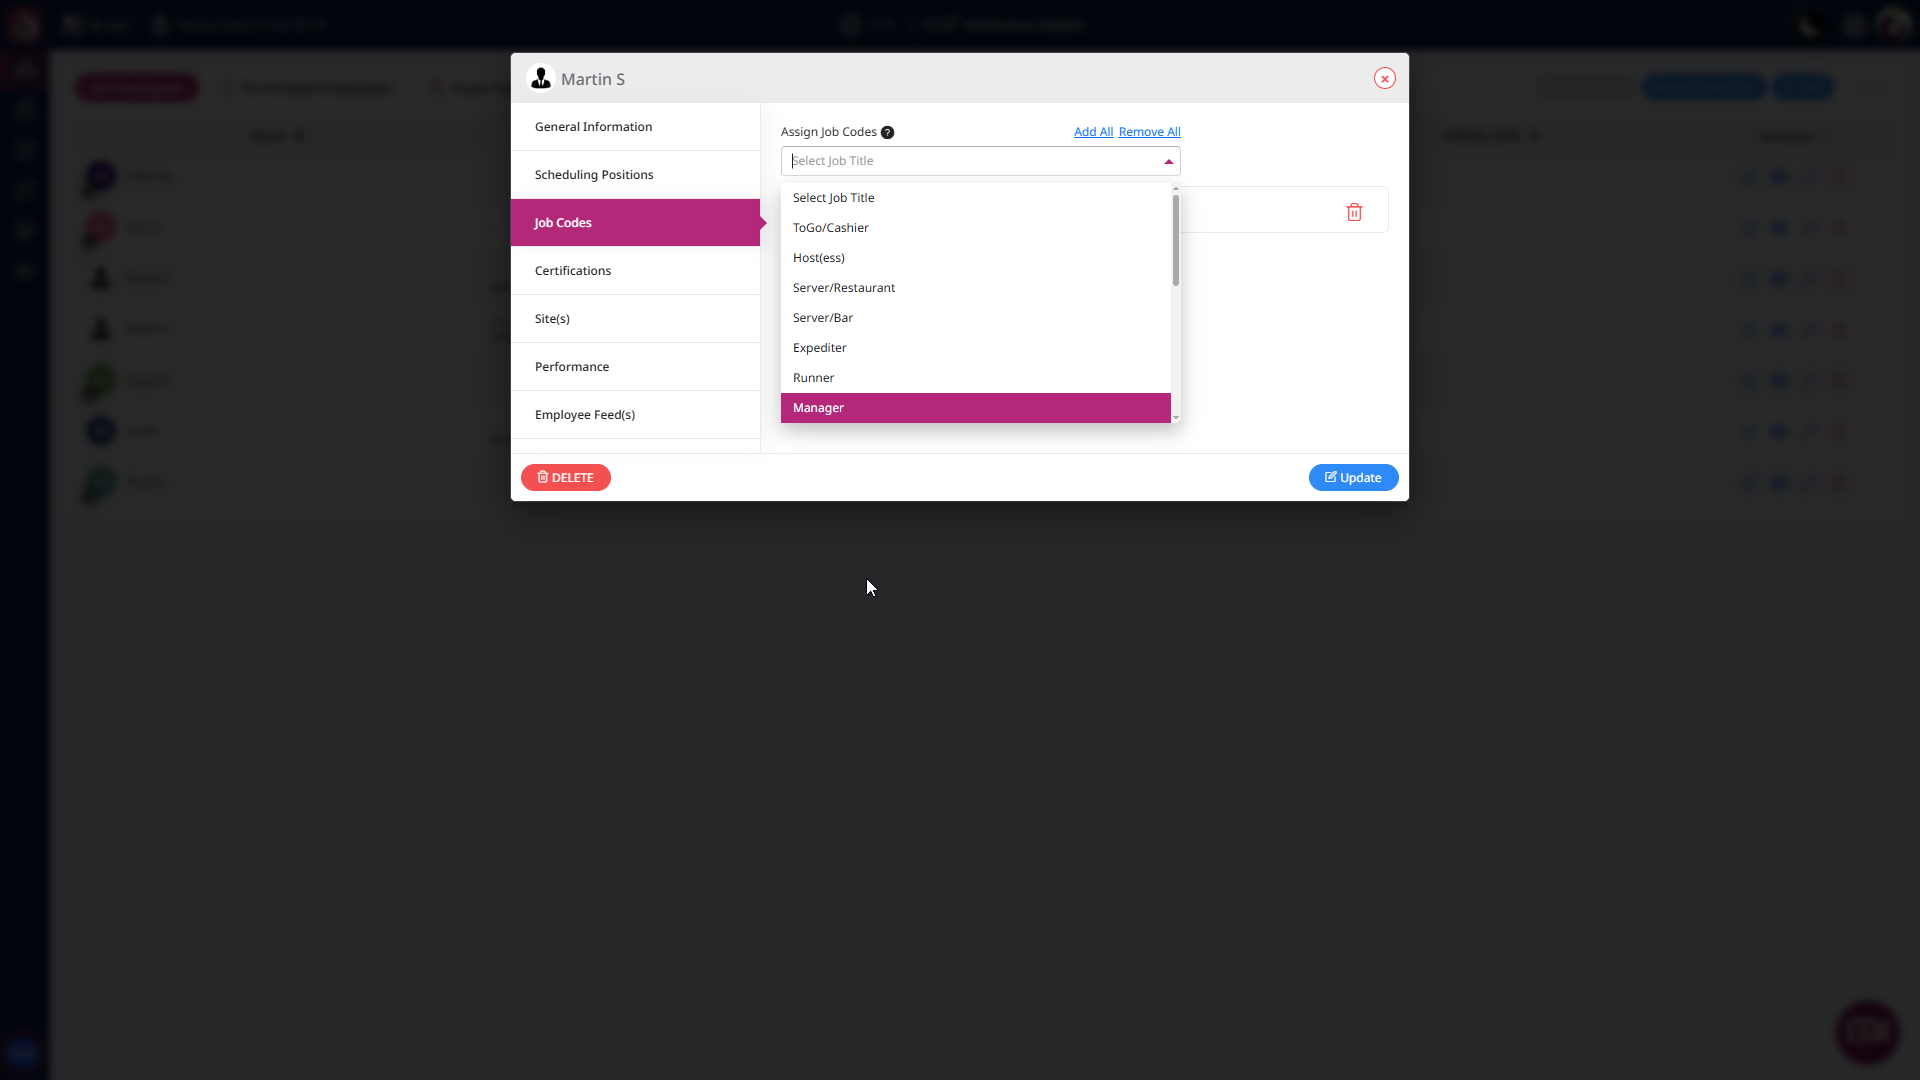
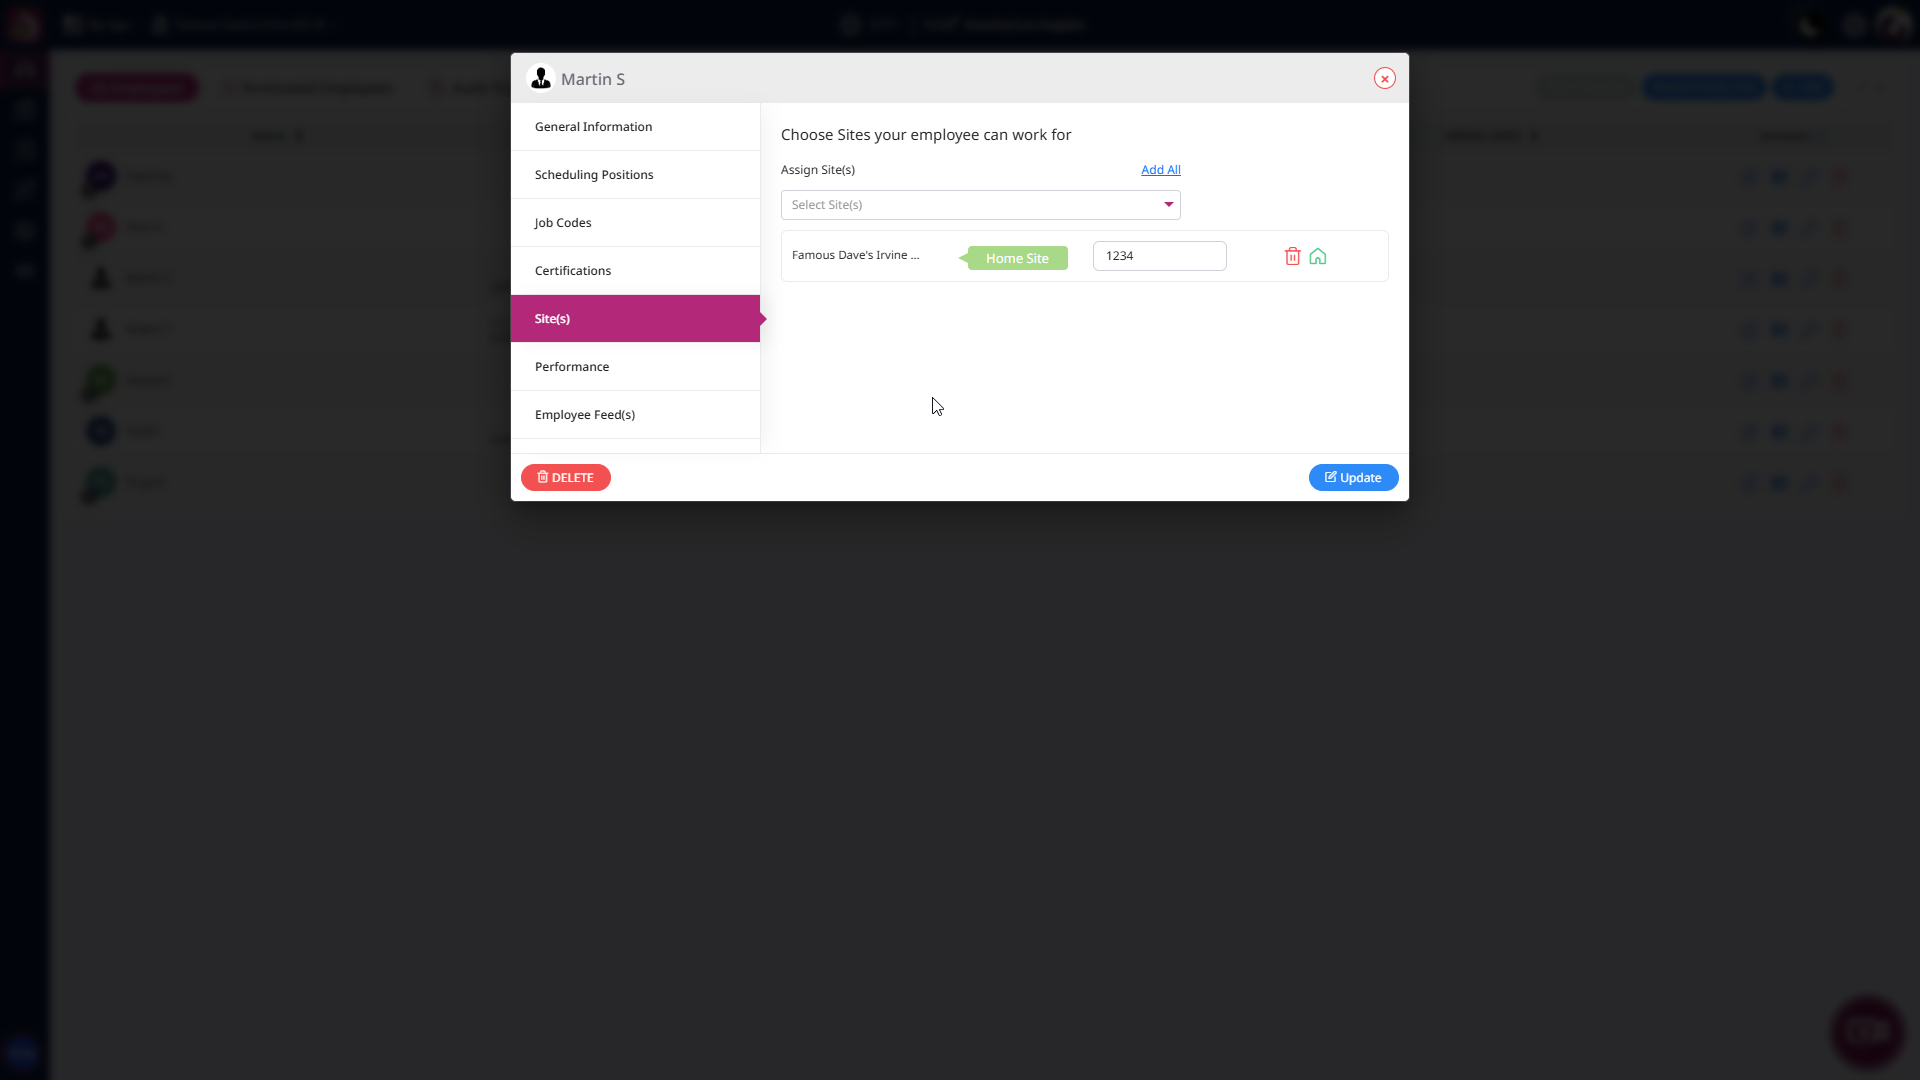
Step 2: Add an employee in the Plum POS application from the employee’s module and assign the required job code to that employee from the dropdown menu of Job Codes (multiple job codes assigned to a single employee)
Step 3: Now, enter the 4-digit employee PIN which will help to access the Plum POS Terminal.
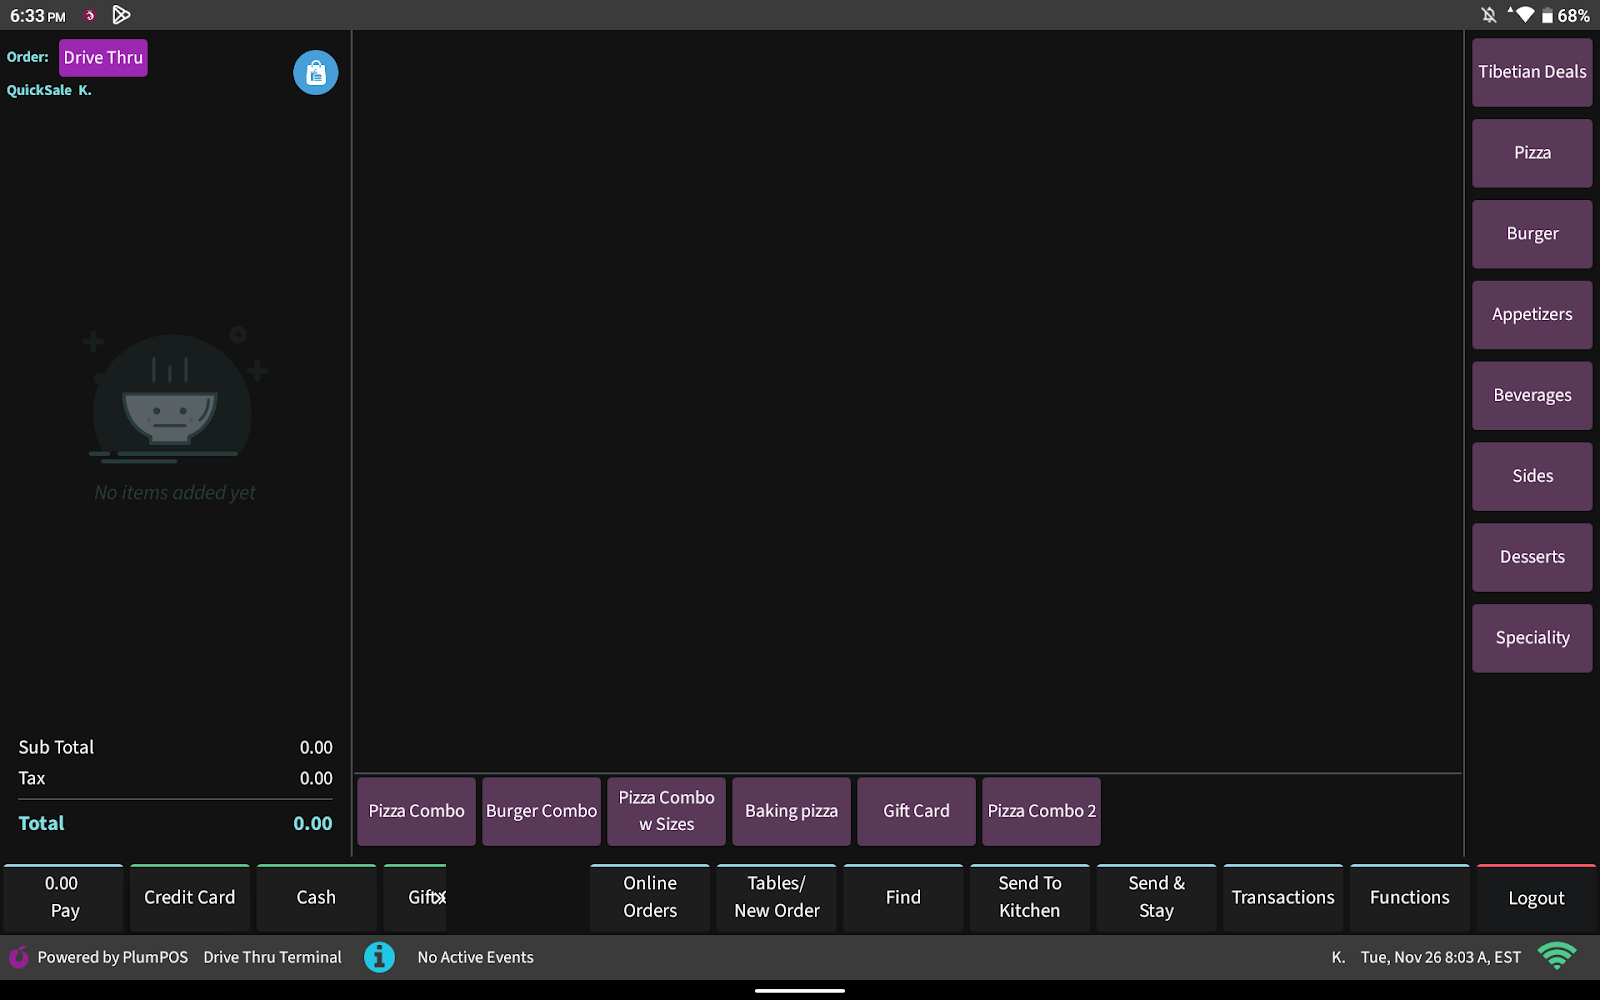
How to log into Plum POS ?
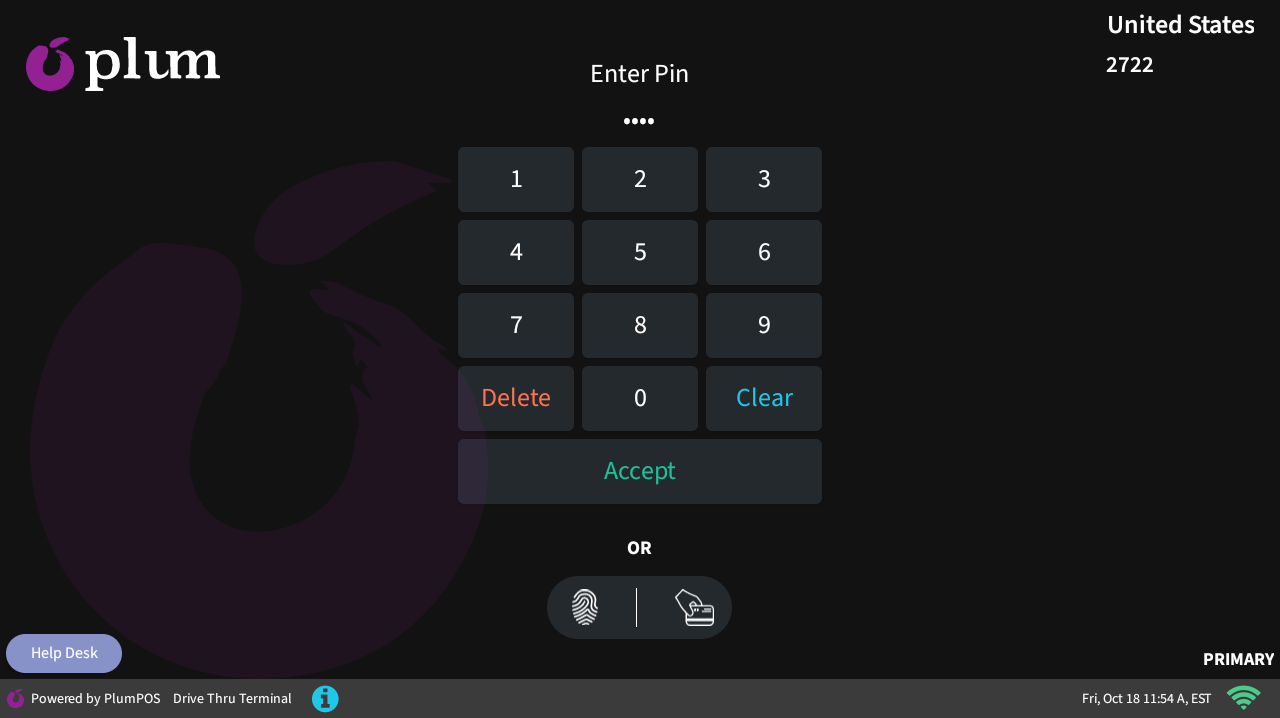
Step 1: Open the Plum POS Terminal after branding the terminal using the IP address and authorization code available on the Plum POS app.
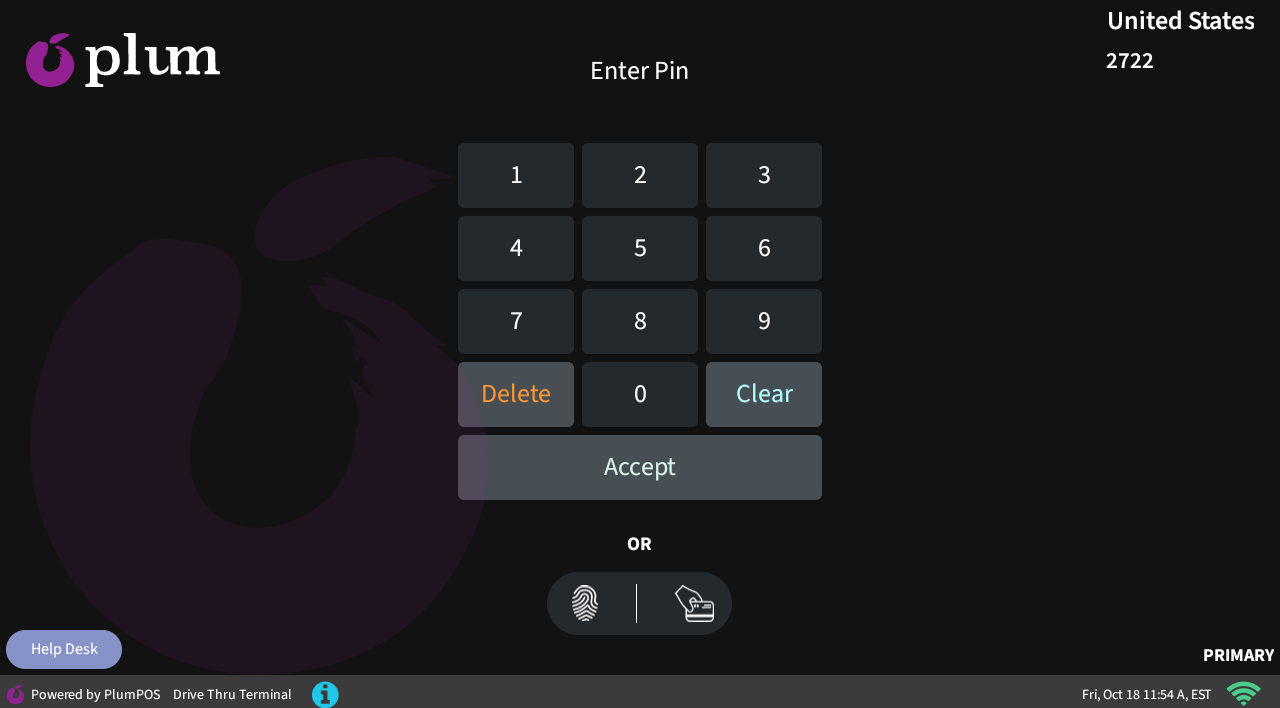
Step 2: Now, enter the Employee’s 4-digit PIN and Click Accept [button].
Step 3: Now, select the required Job Code of the Employee and then the employee should navigate on the Order screen.